Creating a Gallery Wall for Your Office Corner

It’s going on three months in our new apartment and we’ve changed the layout of our home office about 3 times, hah. While we are still playing around with the overall look, there is one thing that I’m completely satisfied with and that’s my gallery wall. I already had a general theme in mind before Desenio and I partnered up for this project, so it was pretty easy to figure out which prints I wanted. However, I will have to say that there are a lot of options offered so it can take days to really narrow down your selects. If you’re wondering if you should order the frames with it, the answer is yes. Not only are there are an array of sizes and colors to choose from, I find that their quality is also worth the price and they look great. I ended up ordered extra frames to switch our previous artwork too.
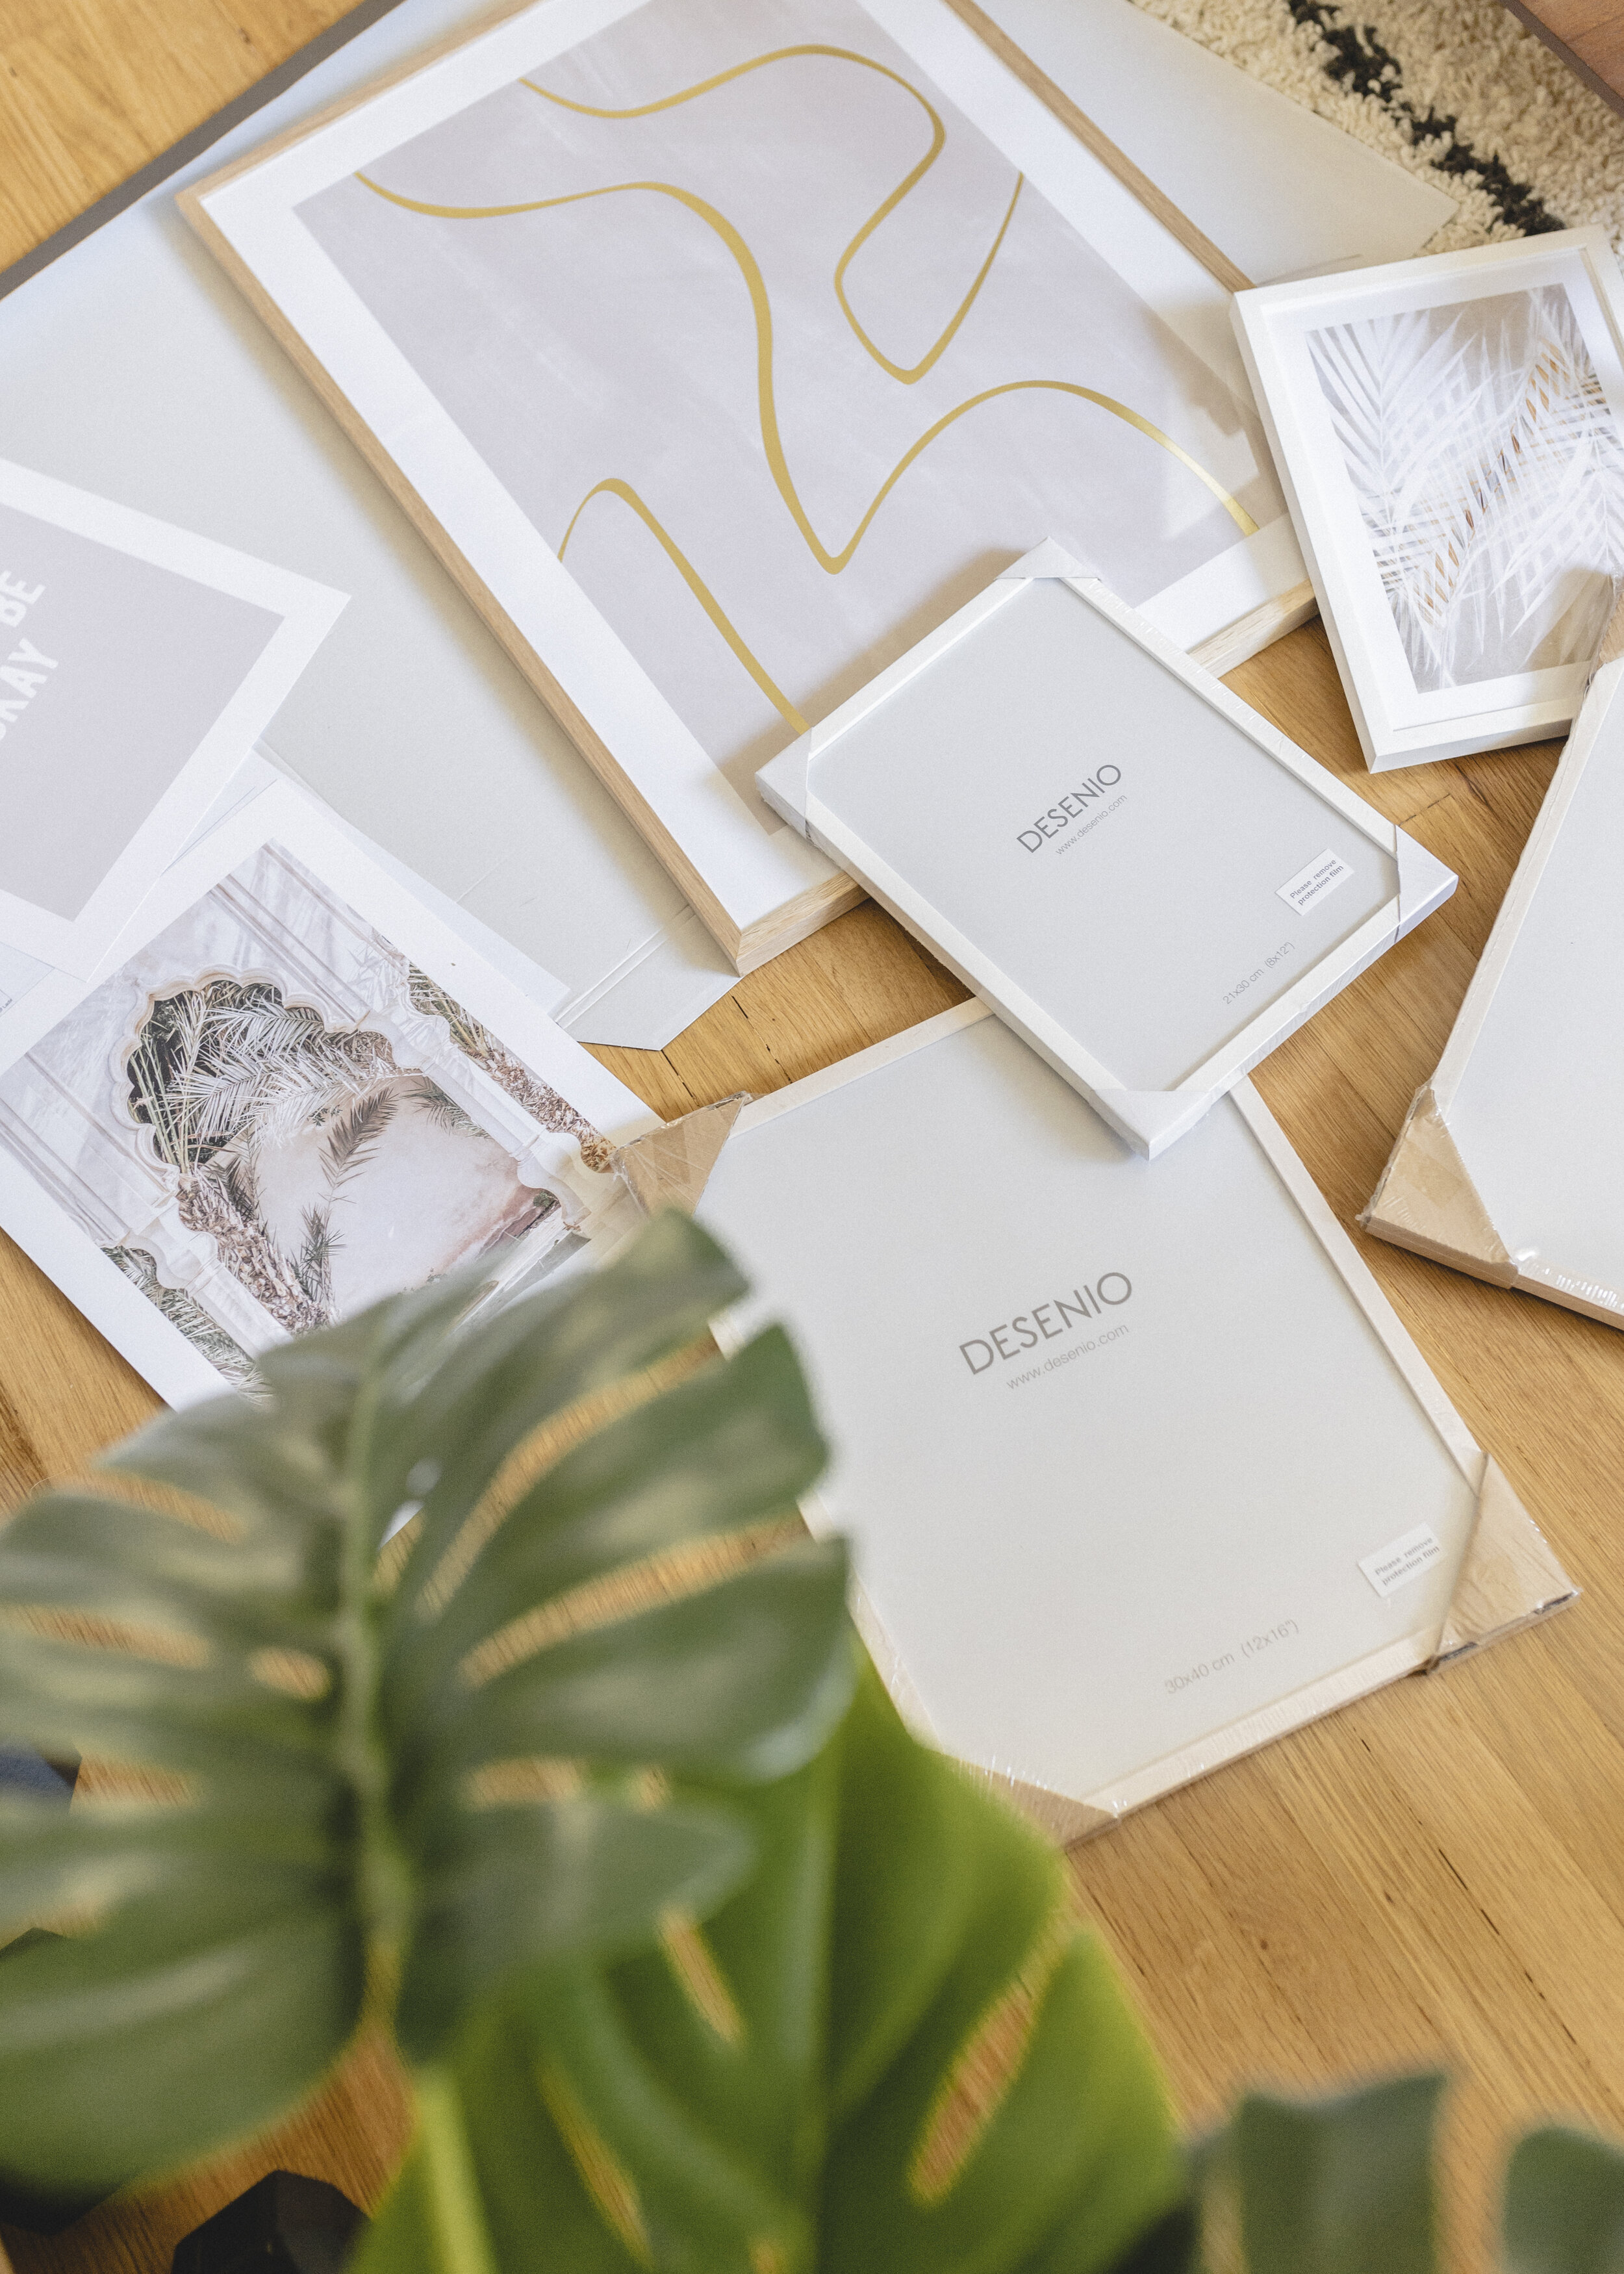
To make it easier for you, here’s a list with links and sizing, to the exact prints I got/have featured here.
After receiving the prints, which was a little less than a week, I laid out all the artwork on the floor and began playing with a few ideas. There are no real rules when it comes to creating a gallery wall. You can add textures, sculptures in-between frames, or even mix and match frame colors. Honestly, I would just play around with a few layout ideas on the floor before committing them to the wall. Also, if you’re a renter like me and want to avoid nailing anything, Command strips are your best friend. Plus it works best if you’re indecisive about placement like me.
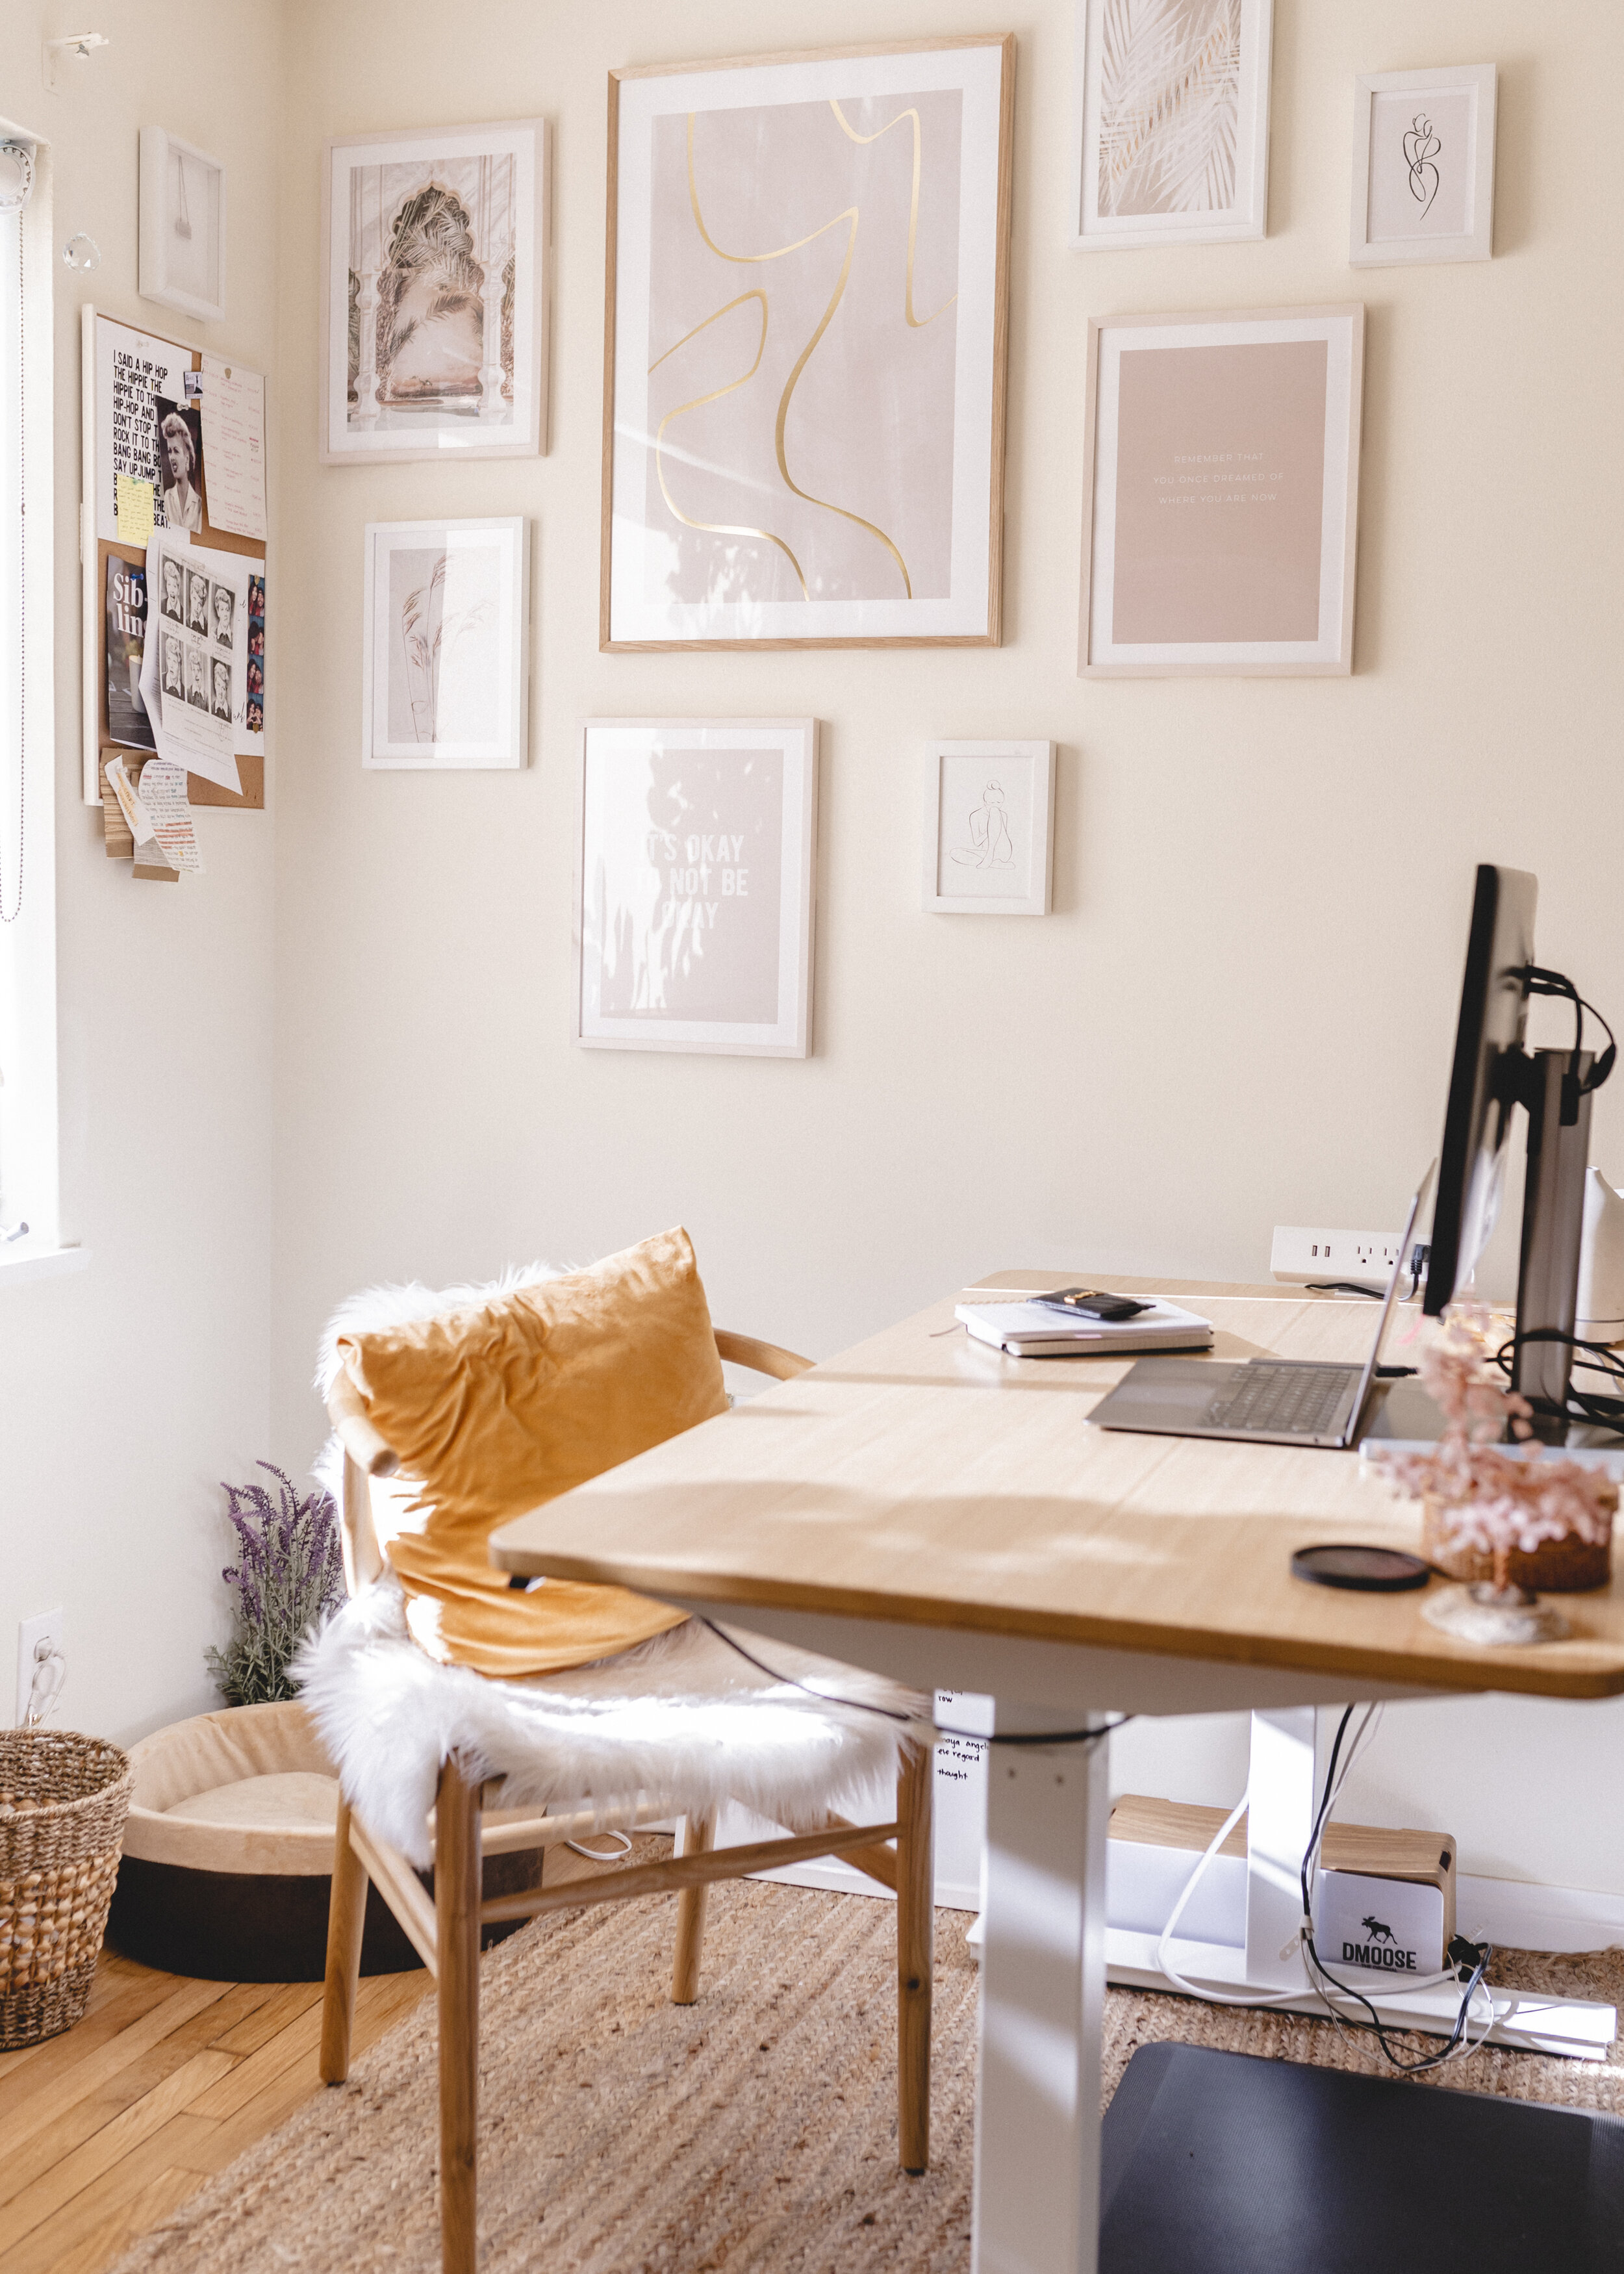
Because I am sharing our office, I was only able to utilize half the wall space, as KSOLE is going to put a gallery wall on his side later on. Therefore, the sizing of the frames and prints mattered. Make sure to take into account the measurement of the space you have.
I also have a sit-stand desk, so height mattered with the placement of my frames. Since my desk is 80% of the time at a standing level, I wanted the frames to be placed higher to blend better with my desk.
The only other tip I have when putting your gallery wall together is to make sure you use a level. I had to redo a few of the frames after stepping back and realizing they were crooked. Your iPhone has a level available under the measurement app, but I used an actual one I had laying around when redoing the crooked frames.
Lastly, know that it is not permanent. As happy as I am with how it looks now, I know that I will most likely change it up later and that’s ok. Your gallery wall is a form of self-expression, a way to showcase what you love and as you grow, so will your interests. Have fun with it!
Thank you Desenio for partnering up with me for this project.
Disclaimer: This partnership with Desenio is sponsored, however, all thoughts reflected are 100% of my own.