Our Ikea Desk Hack - A DIY Desk for Two
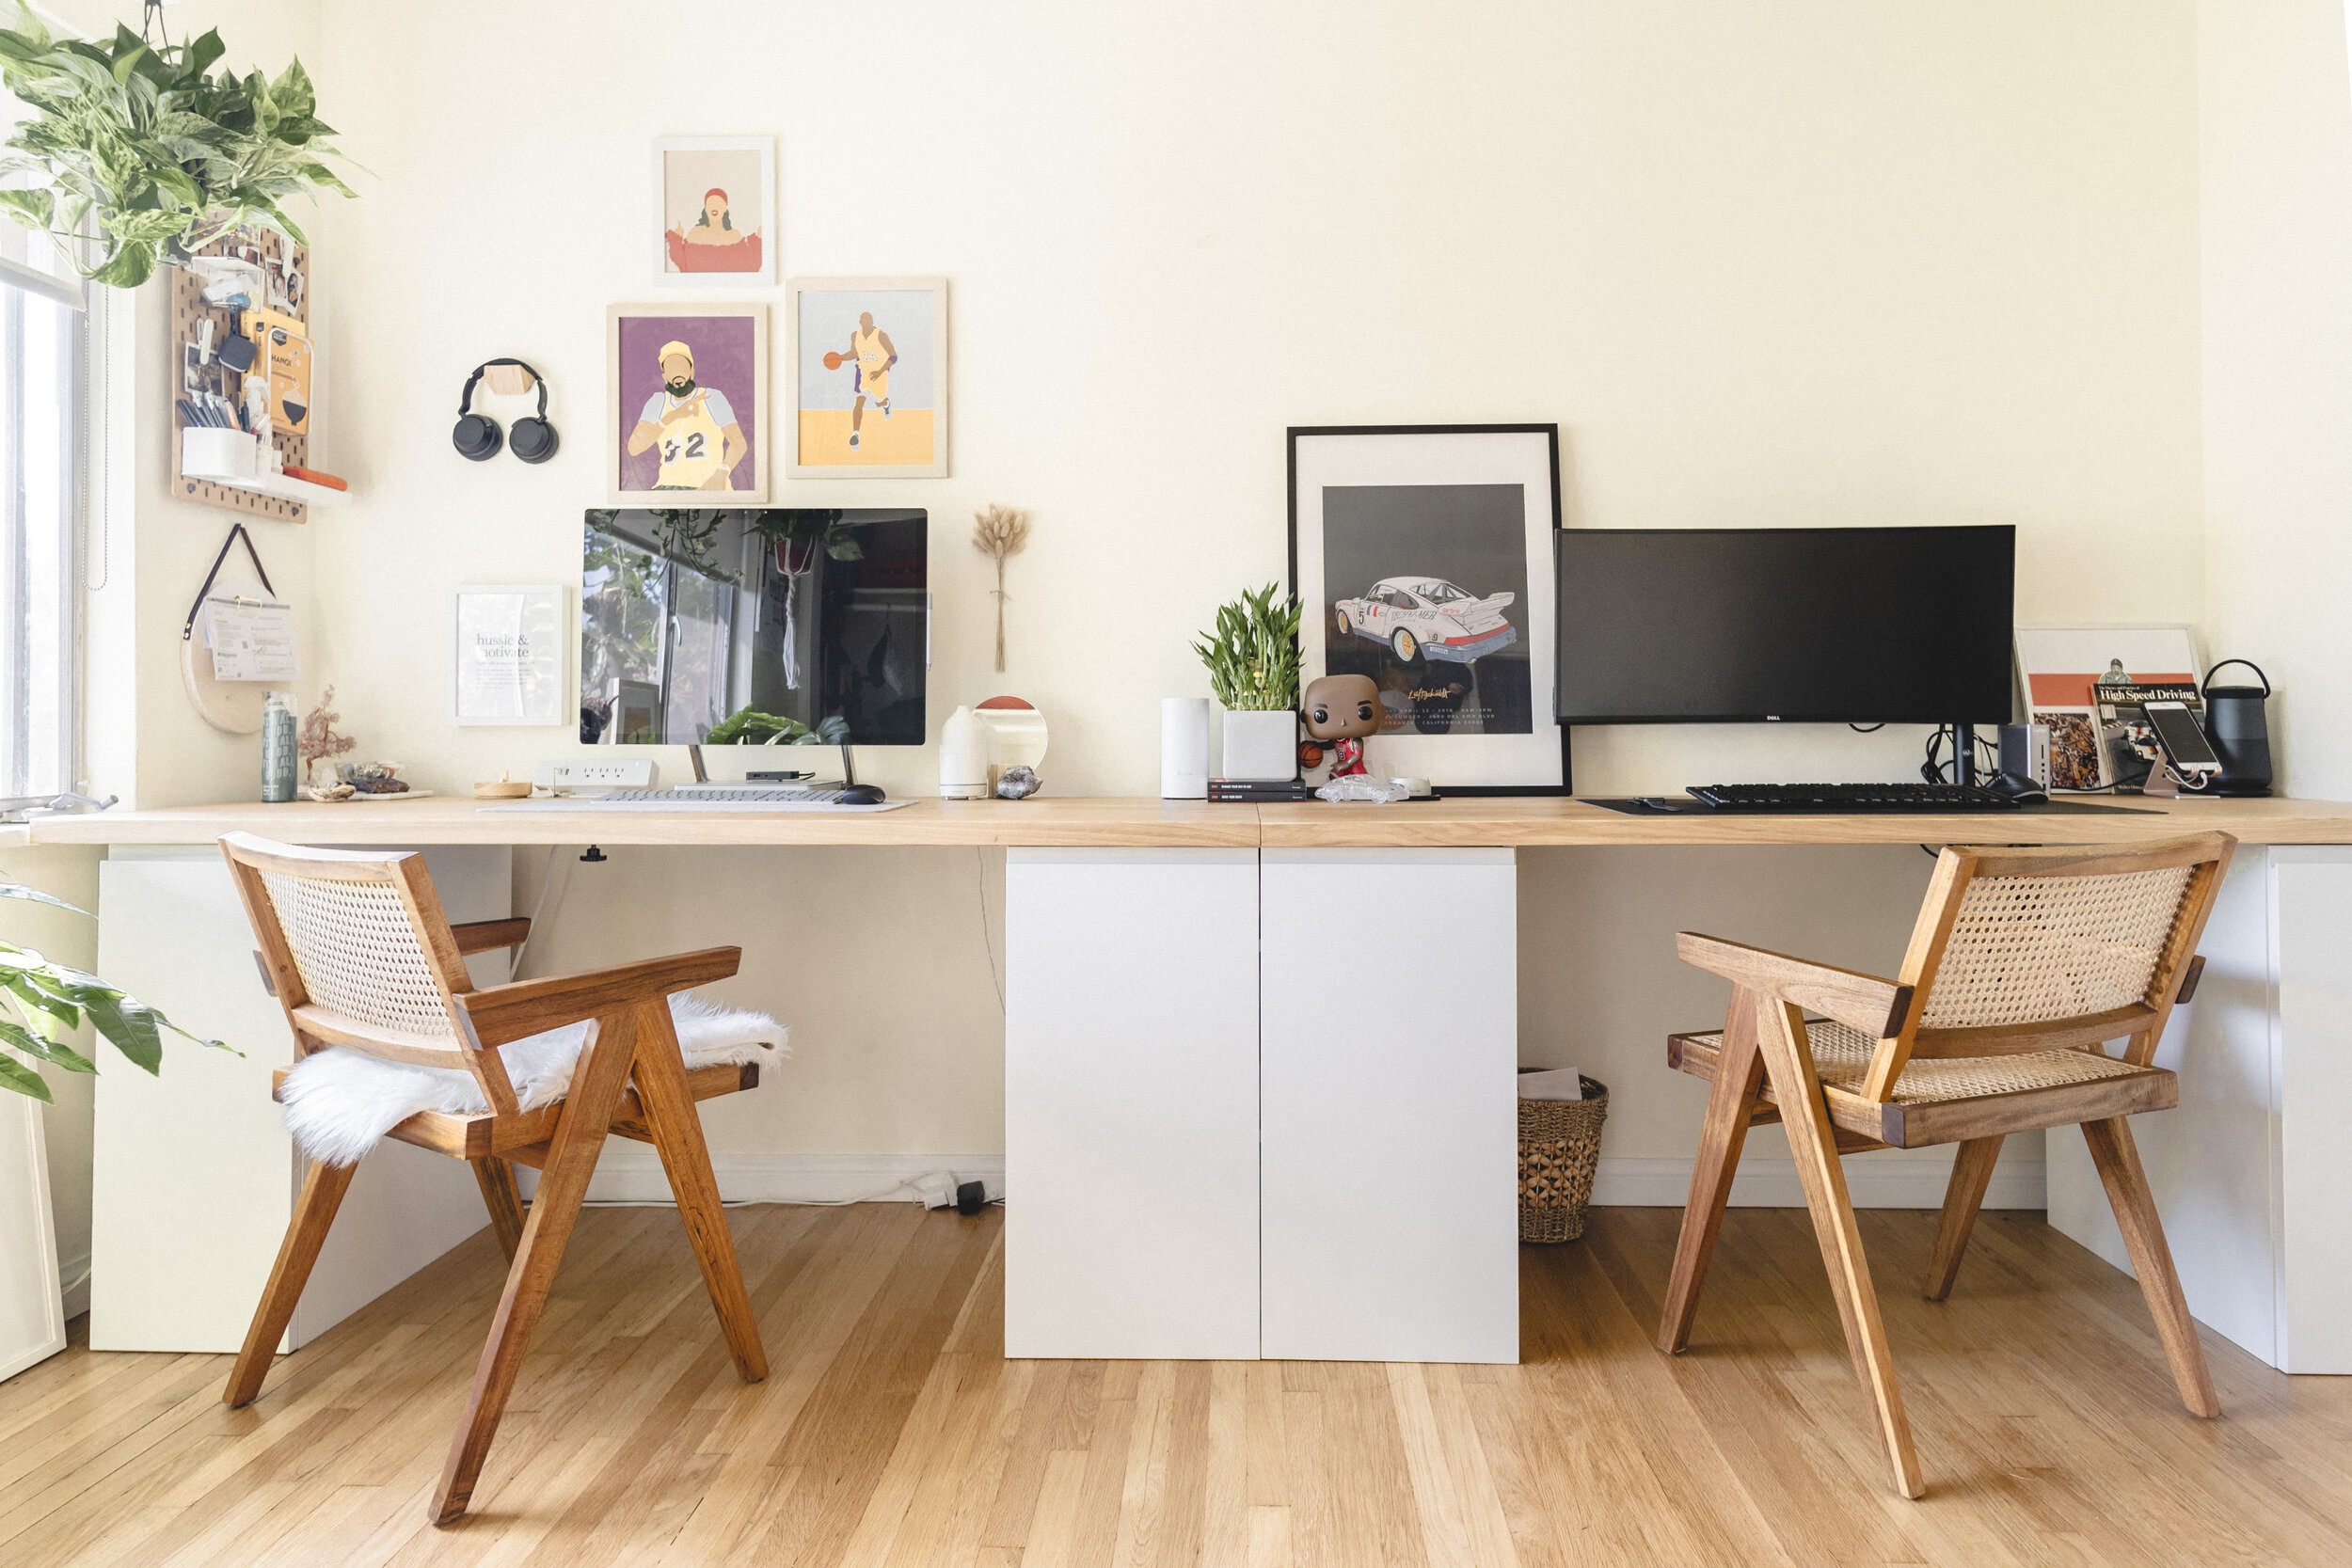
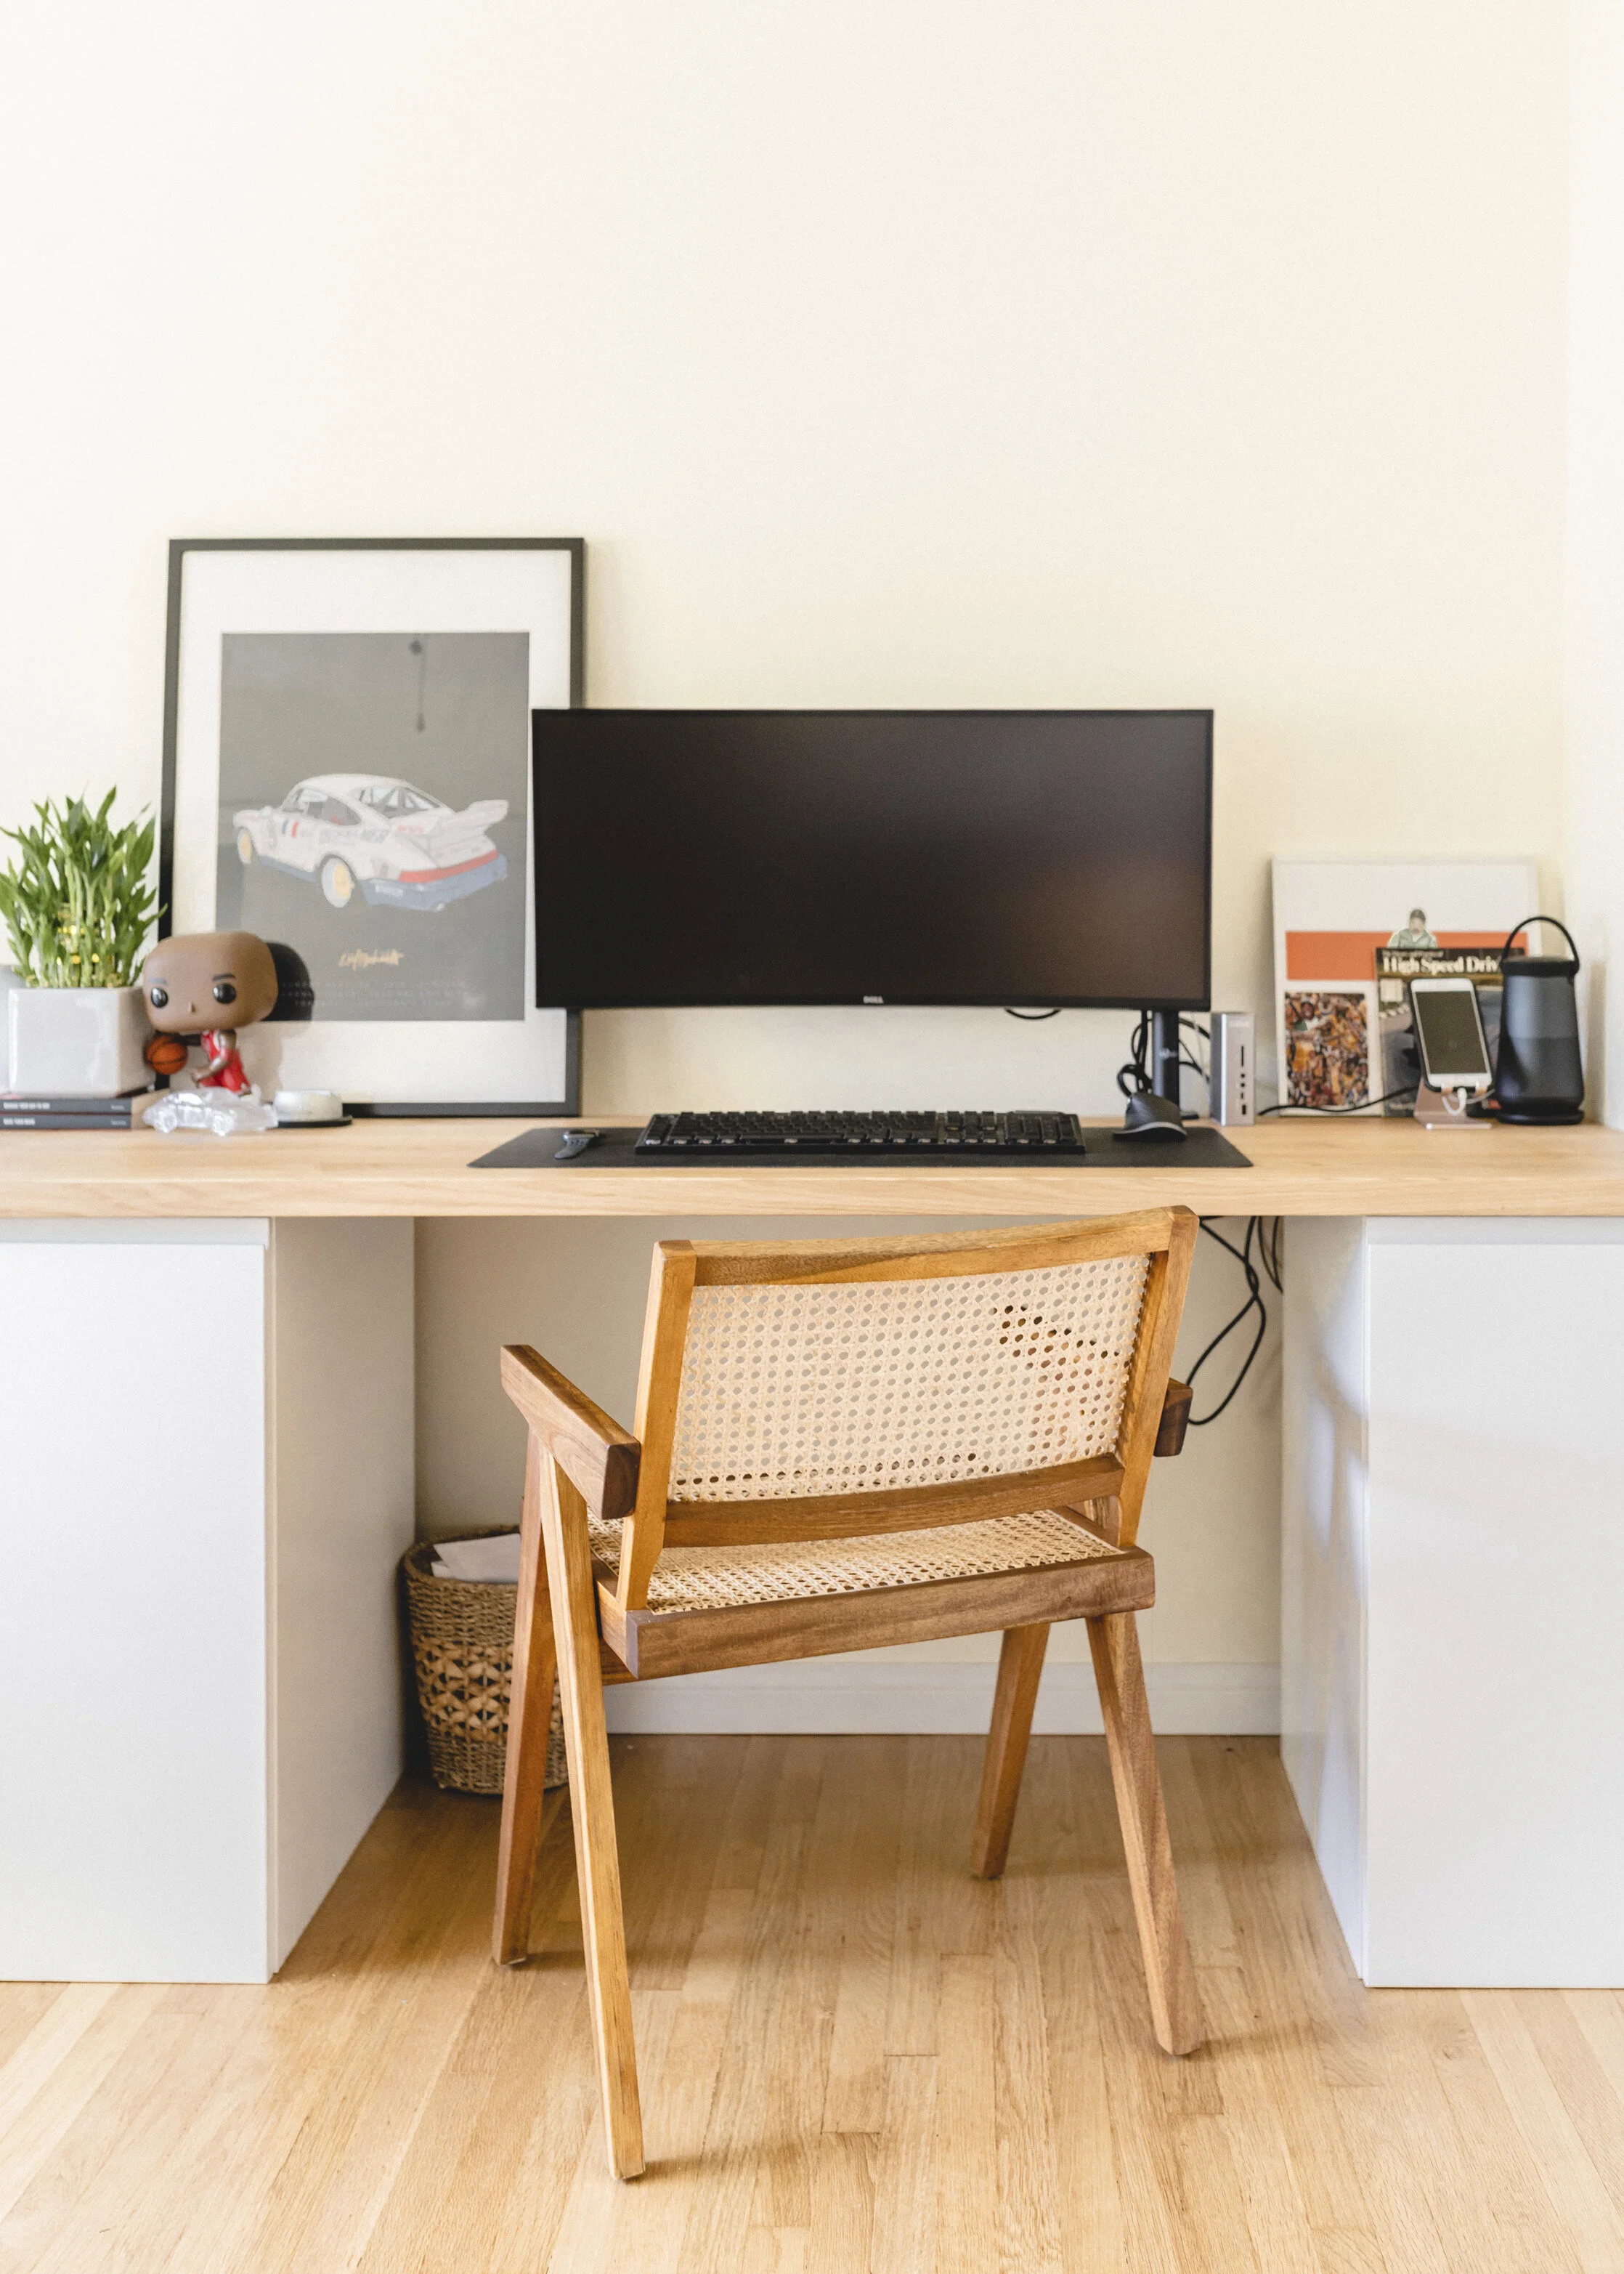


Finding the right desk is like trying to find the perfect shade of beige. There are so many options and it ultimately comes down to what your personal preference is. So after six desks (in the last two years), I finally figured out that the desk of my dreams does not exist — within my budget. Instead of settling for just anything that fits into our home office, I opted to build it instead with Ikea pieces. However, none of the items we used are meant to be used for a desk and that’s what I love most about our DIY desk for two.
The Supplies:
Preferably a power drill but a screwdriver will do (just be prepared to use your muscles)
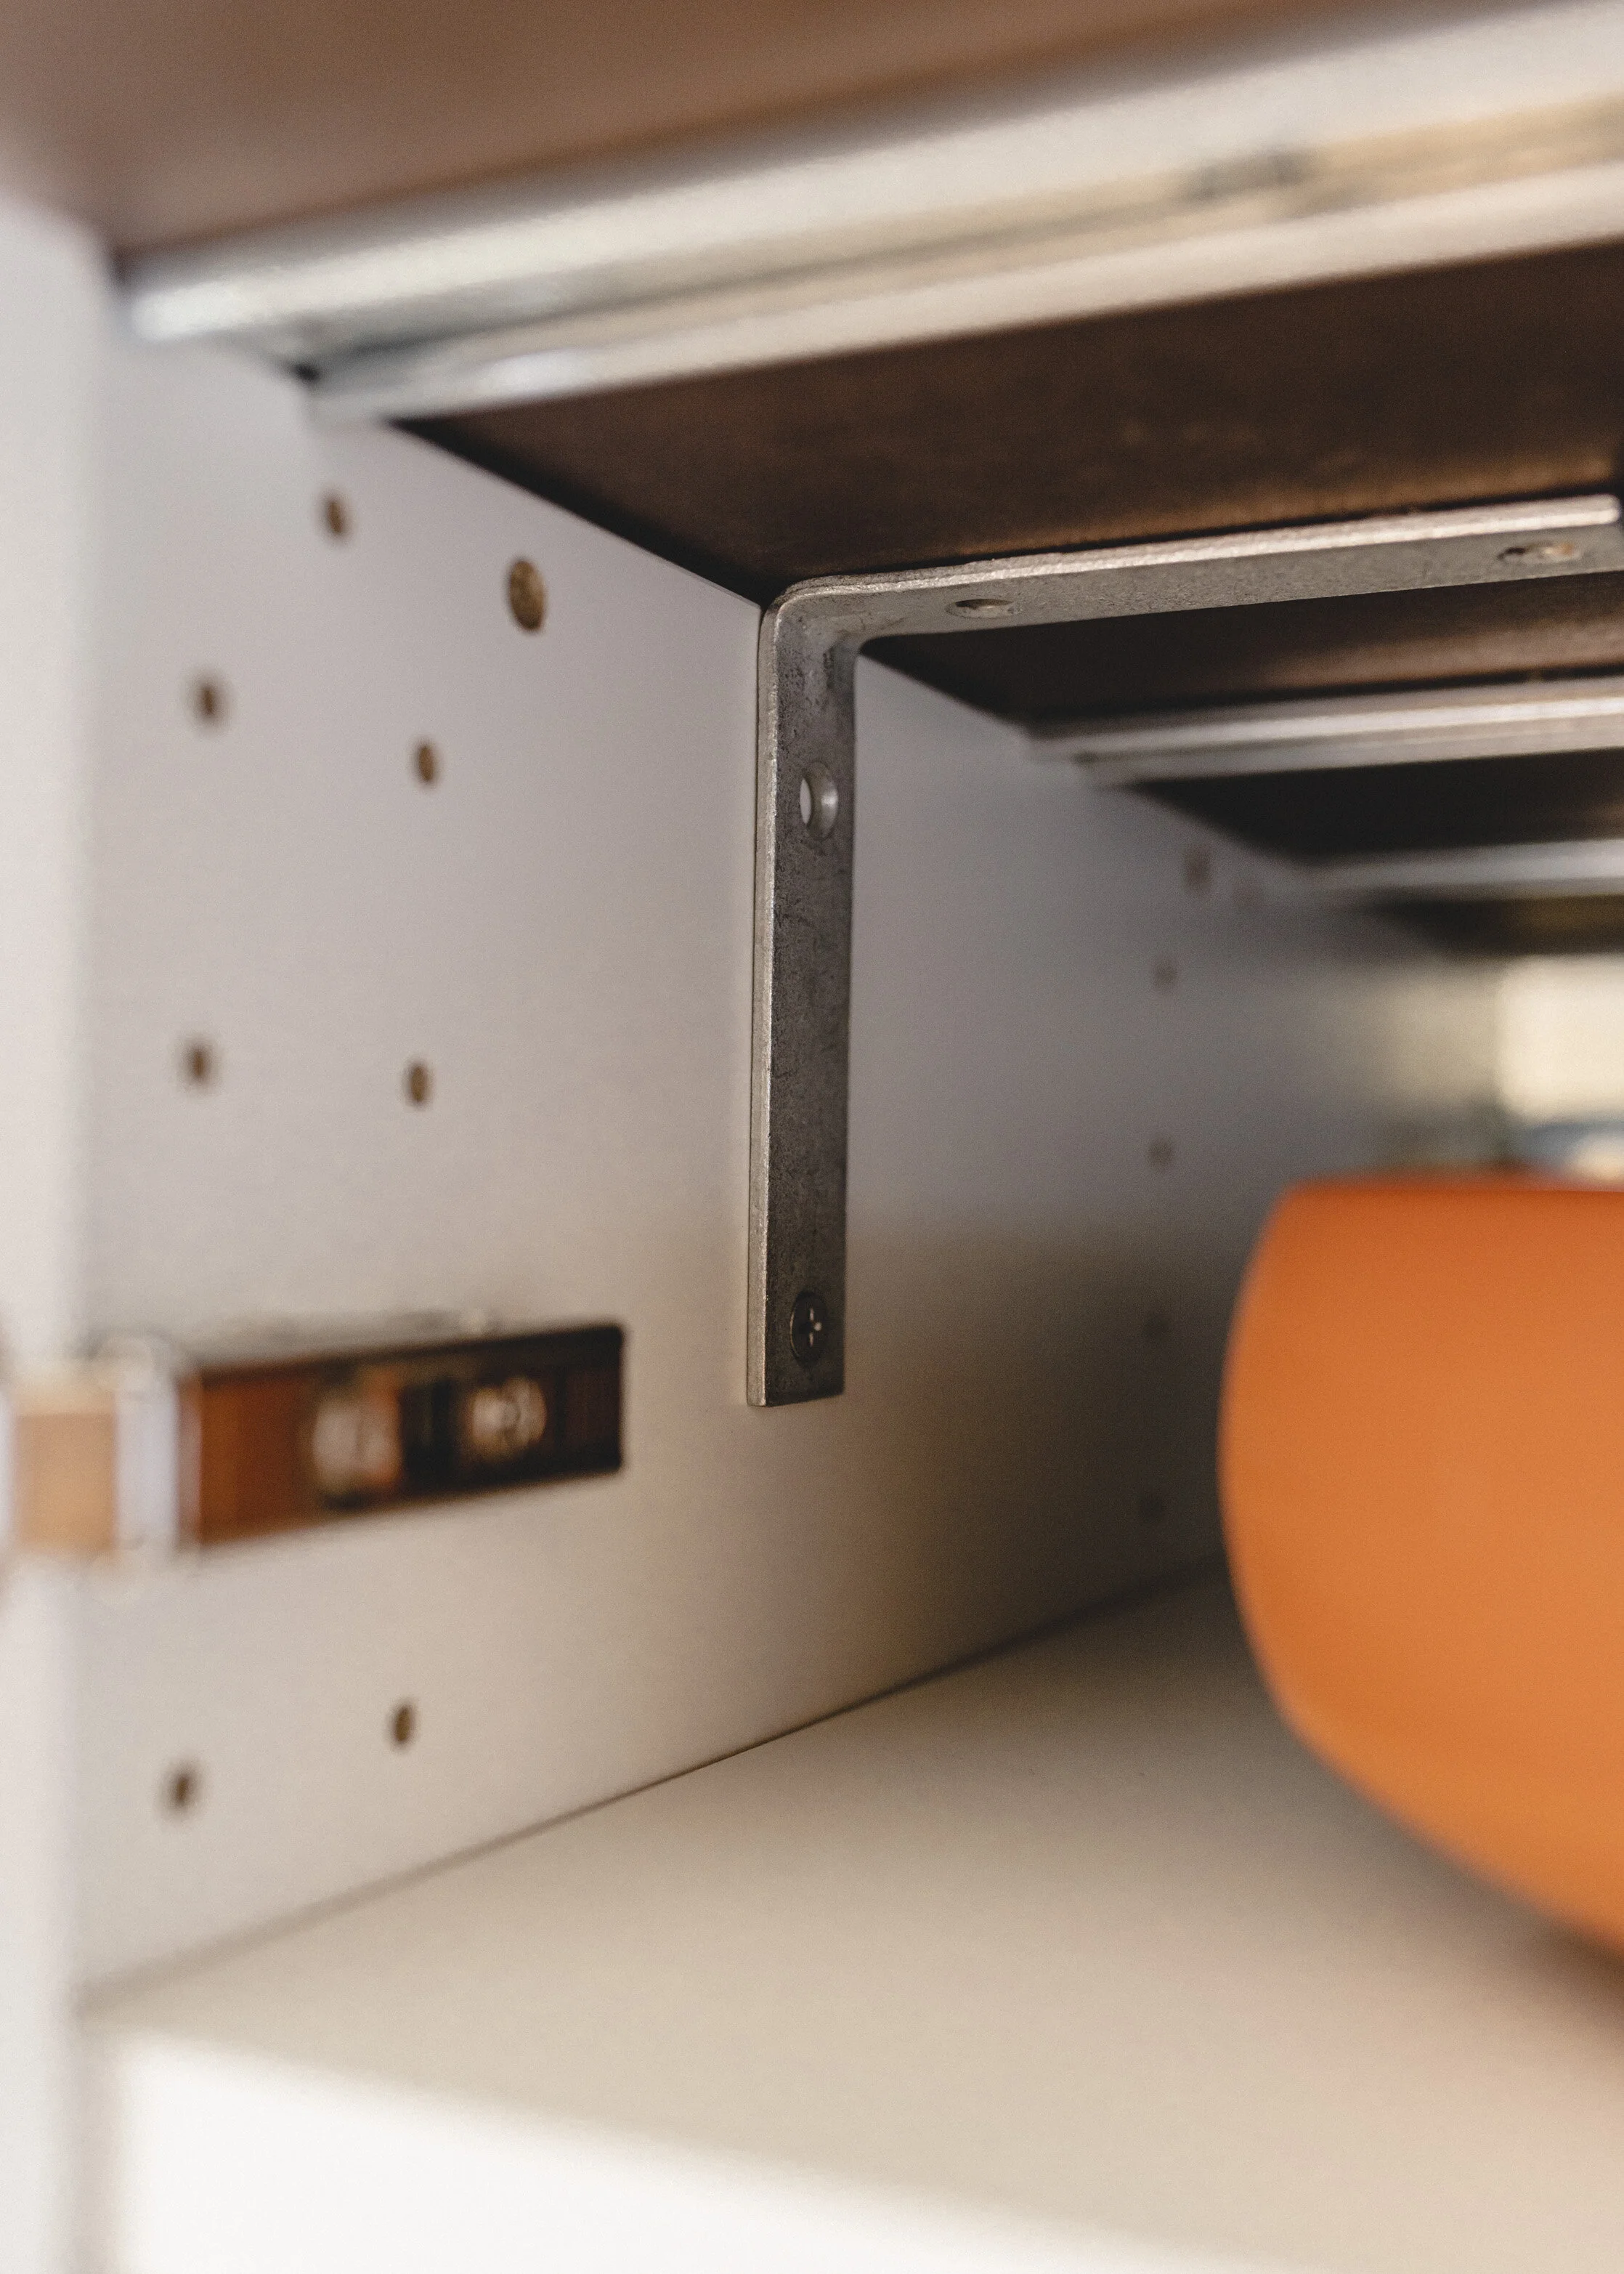
4 x L brackets
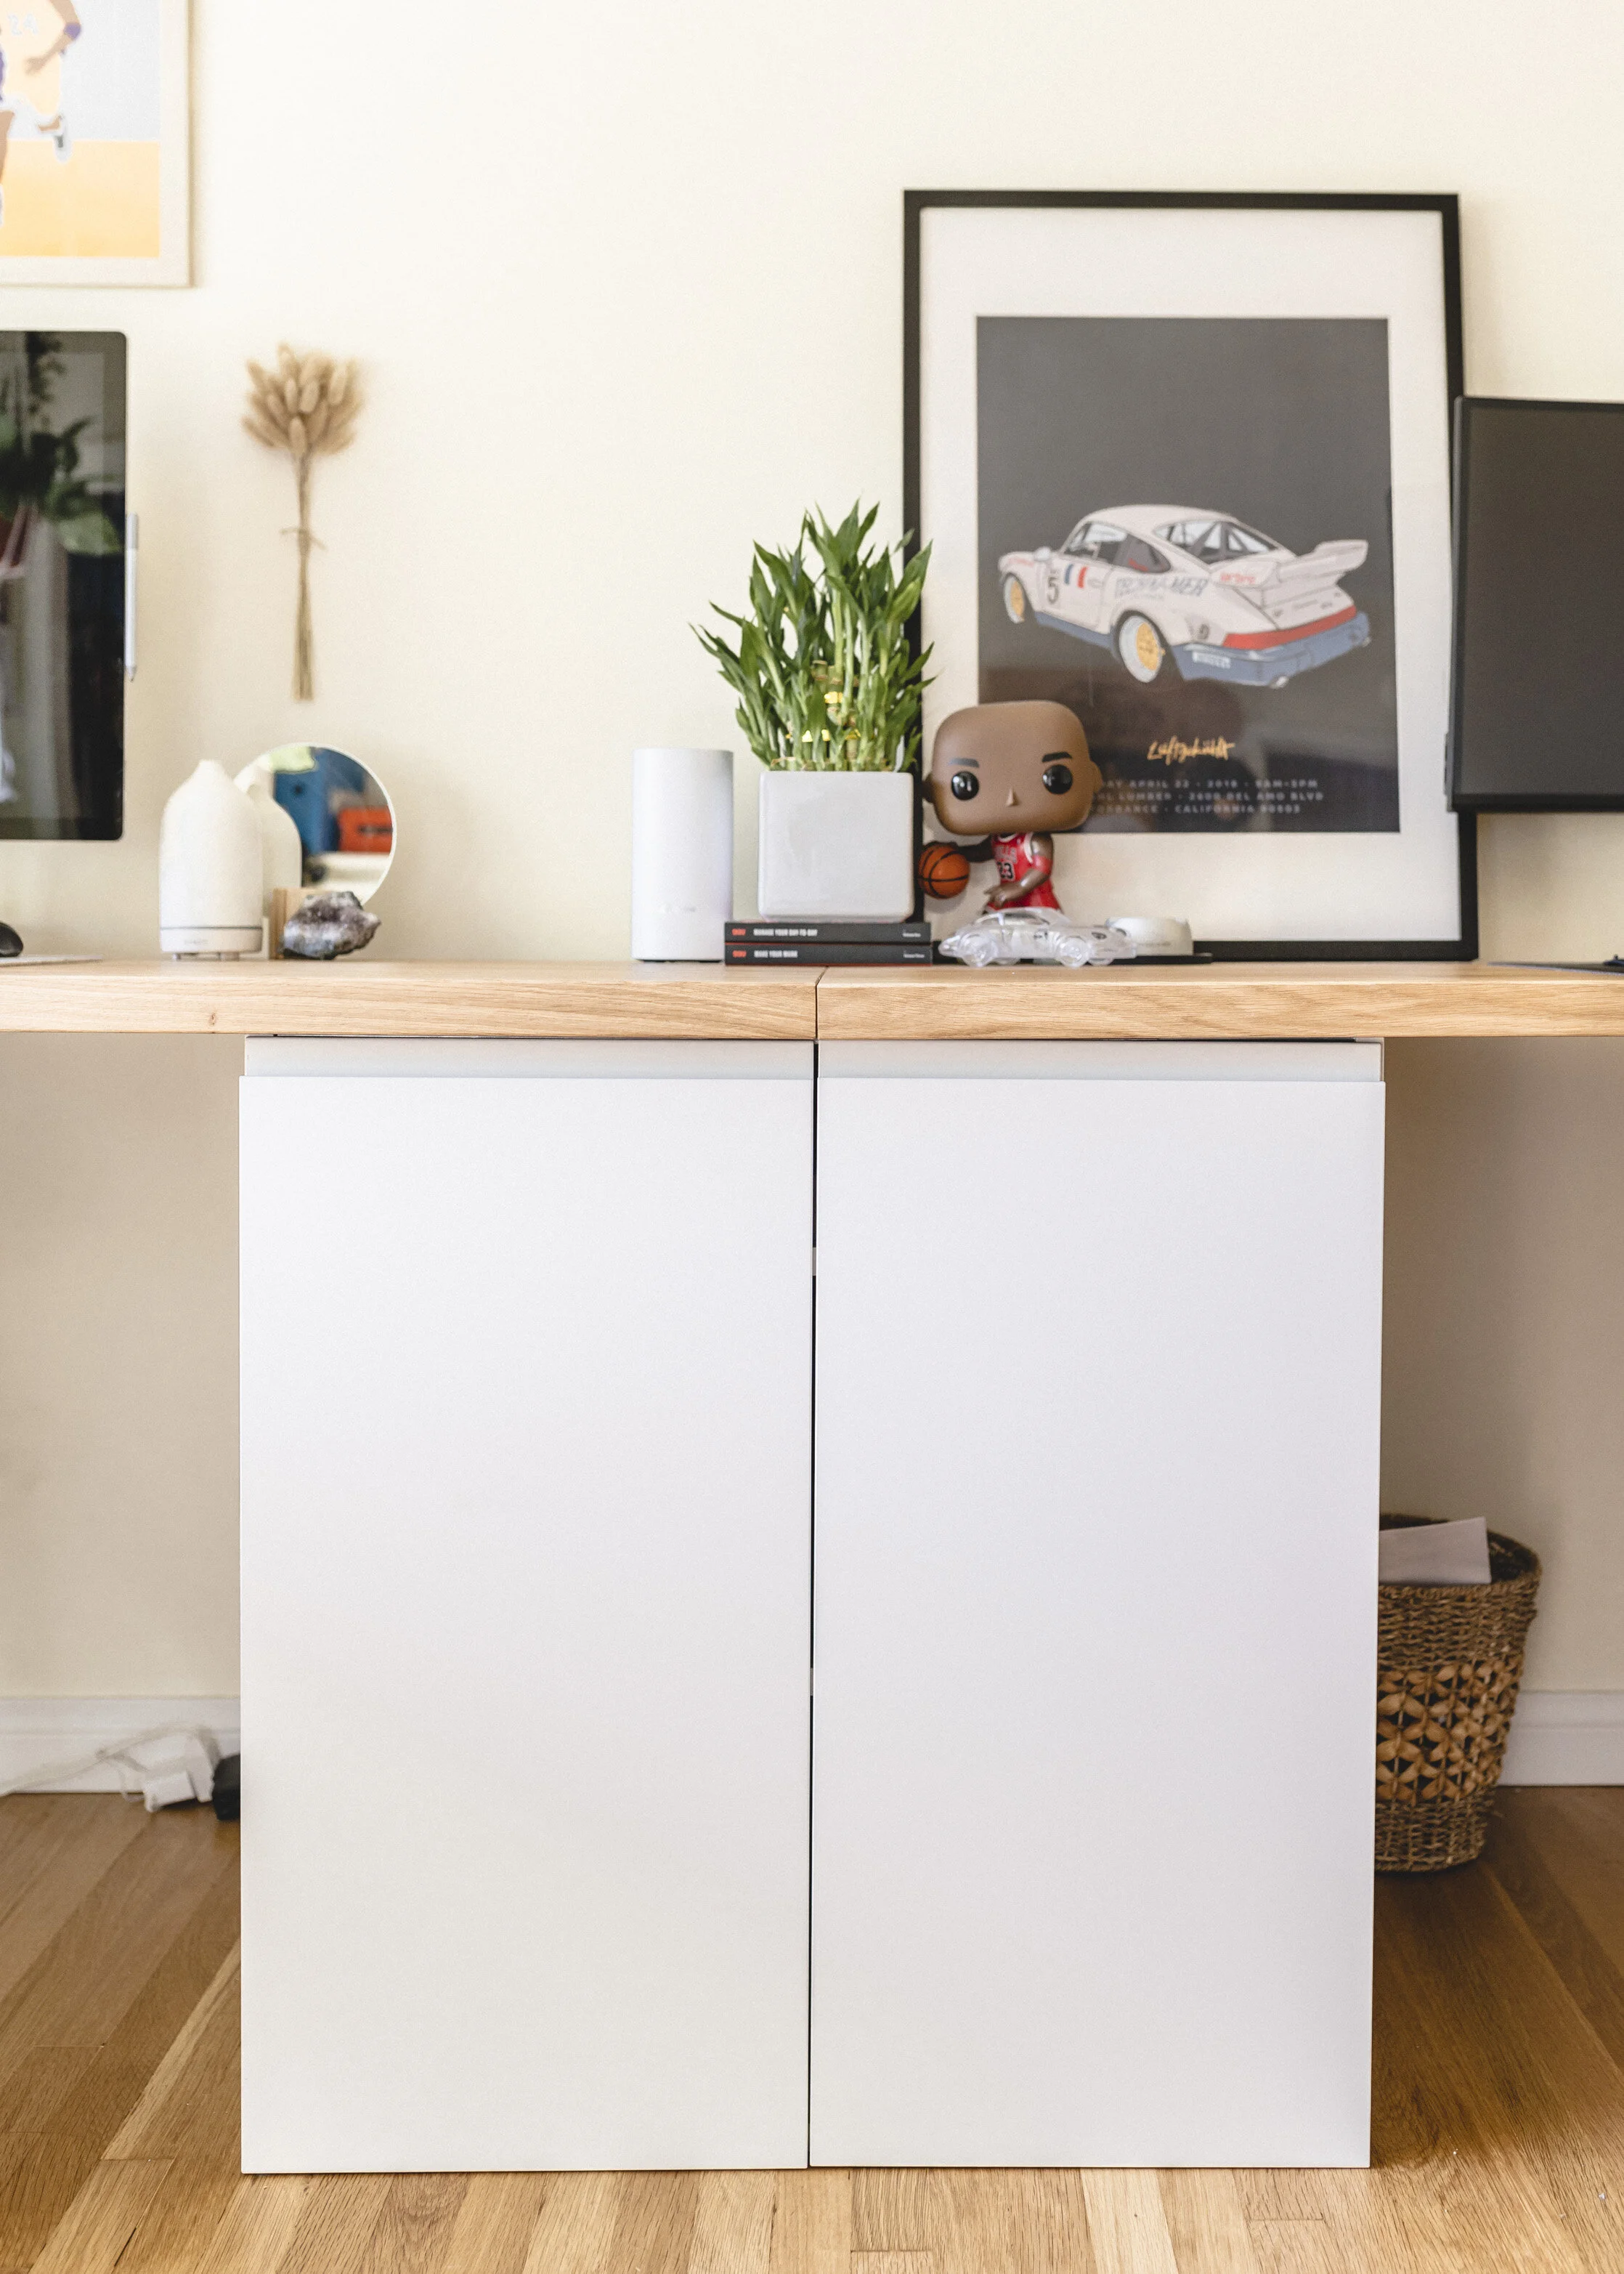
2 x Sektion base cabinet (Voxtorp matt white; 12x24x30”) - 393.694.31
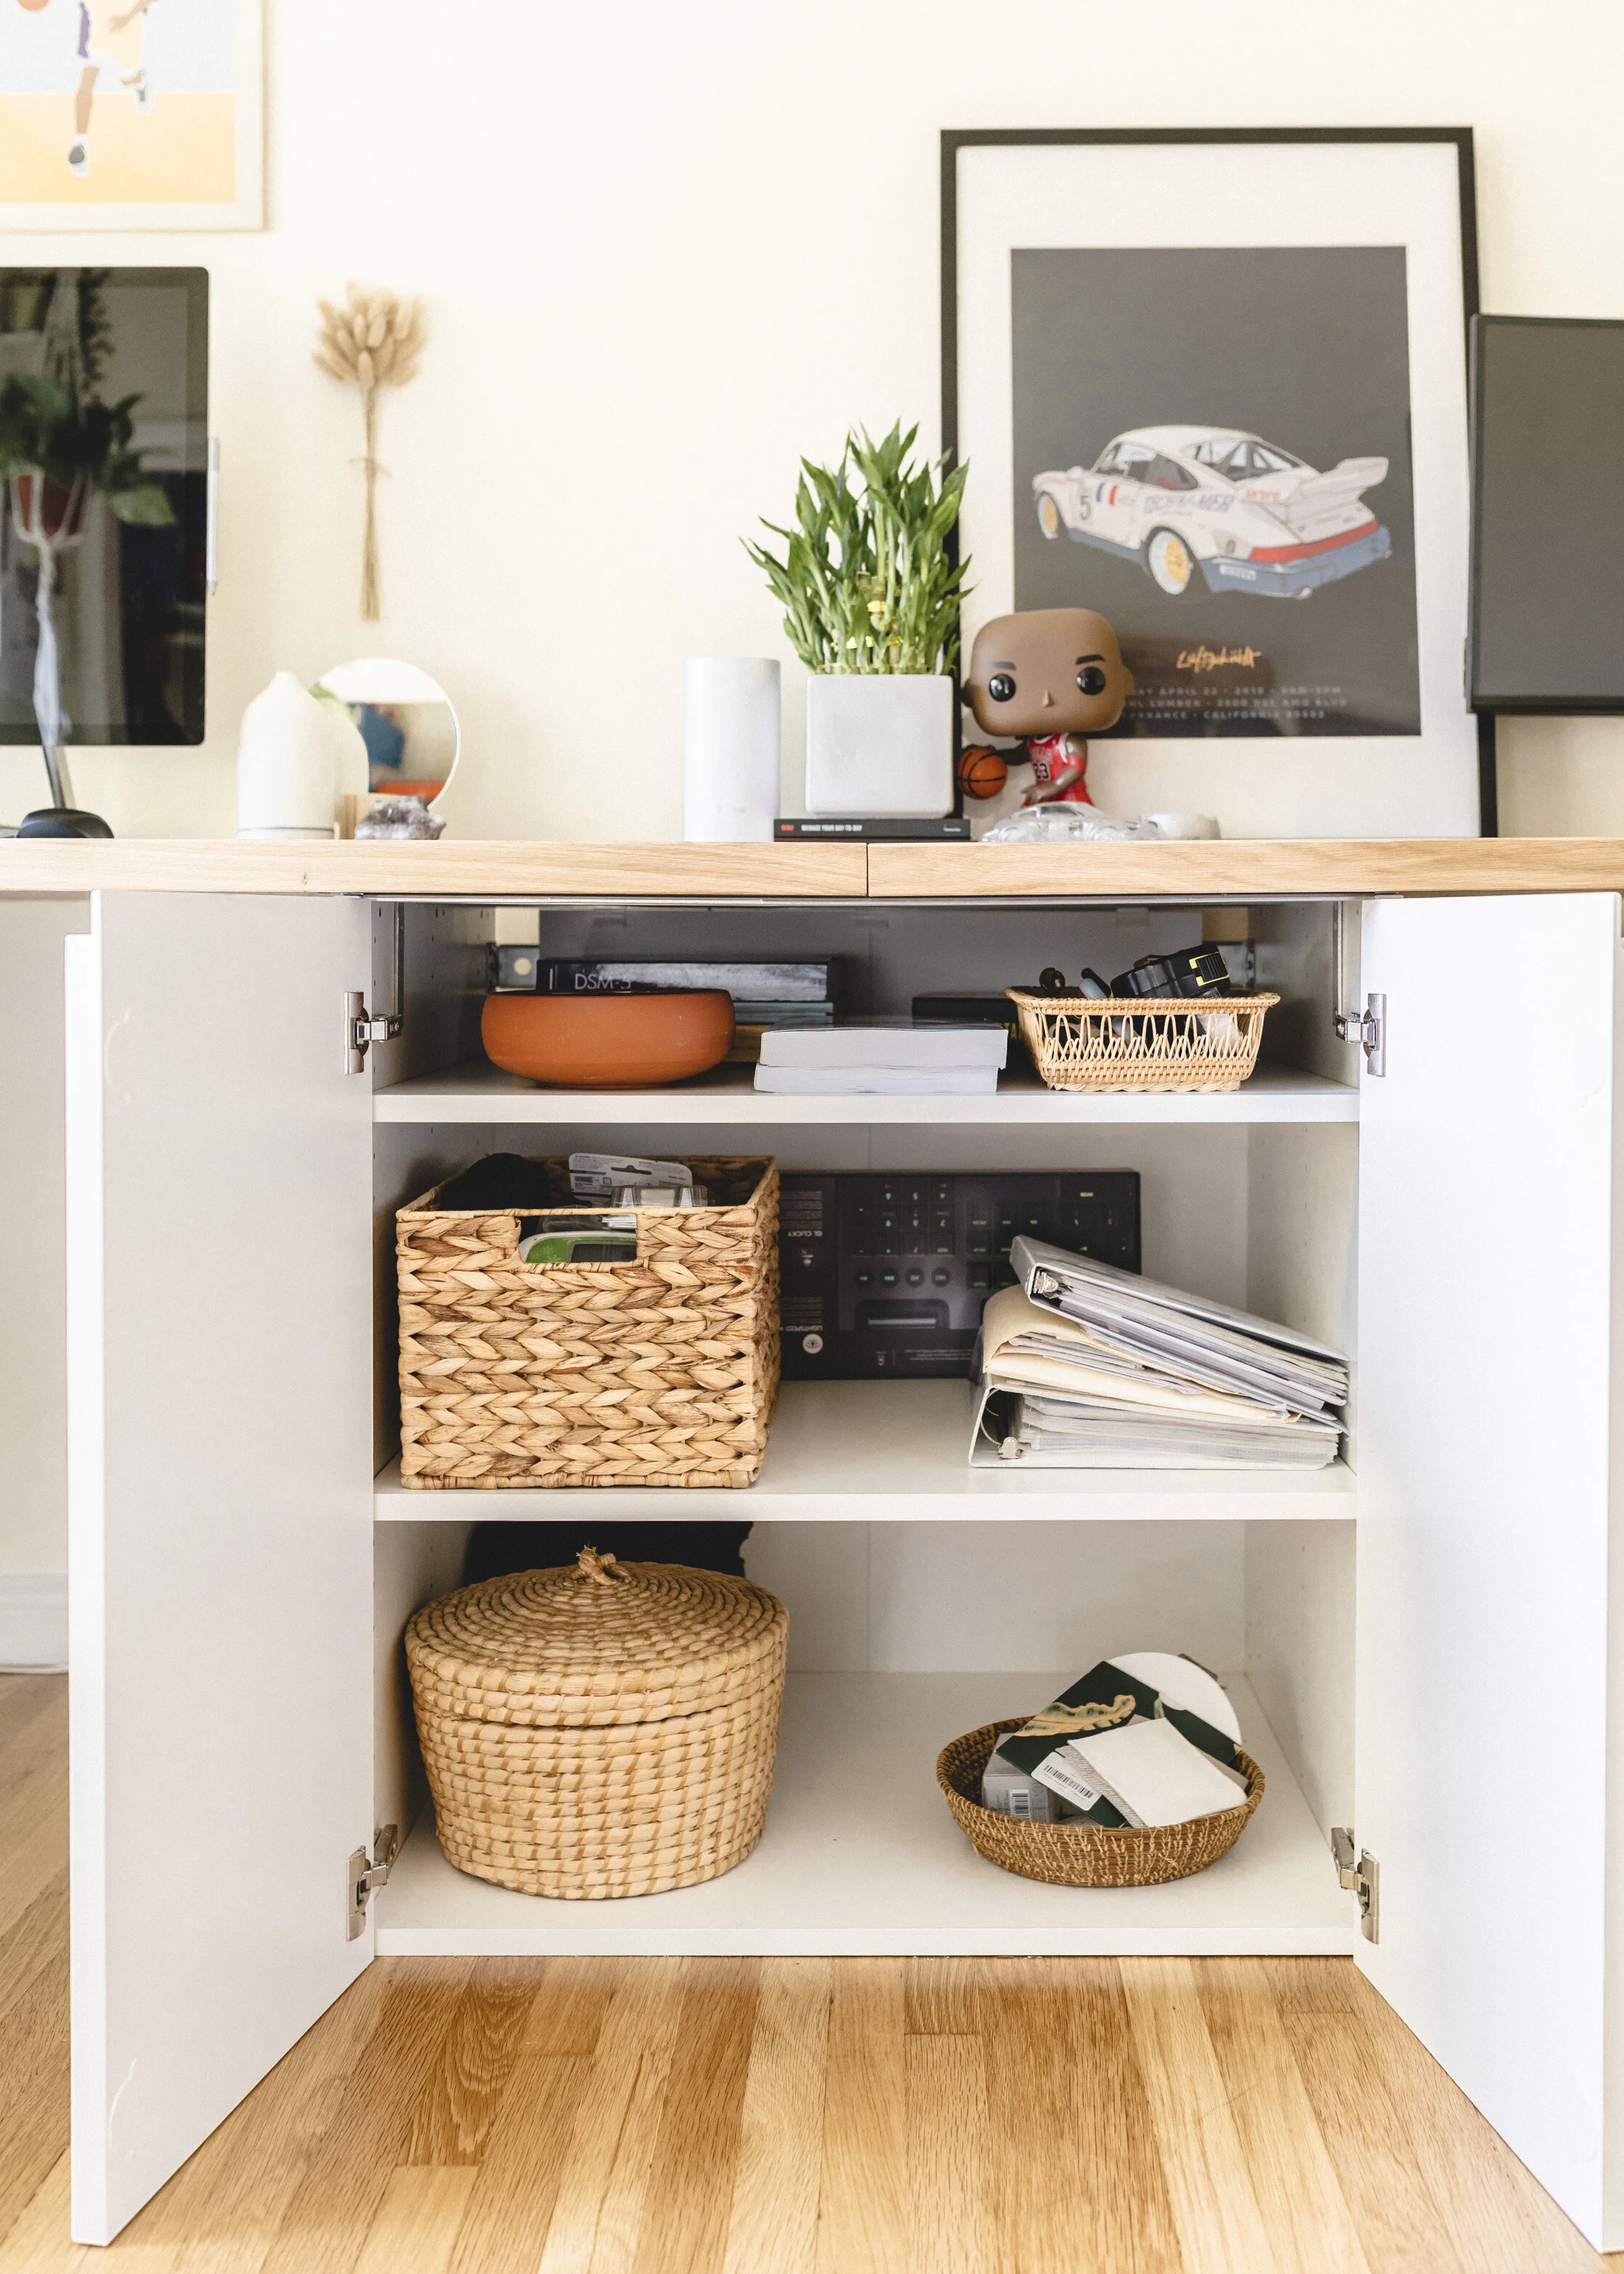
1 x Sektion base cabinet with shelves (2 doors; Voxtorp matt white; 30x24x30”) - 893.654.78
2 x Mollekulla countertop (oak/veneer; 74x1.5”) - 003.011.35
optional: Sektion legs (102.655.18) and kick toes
Lots of patience because it’s Ikea :)
The Inspiration
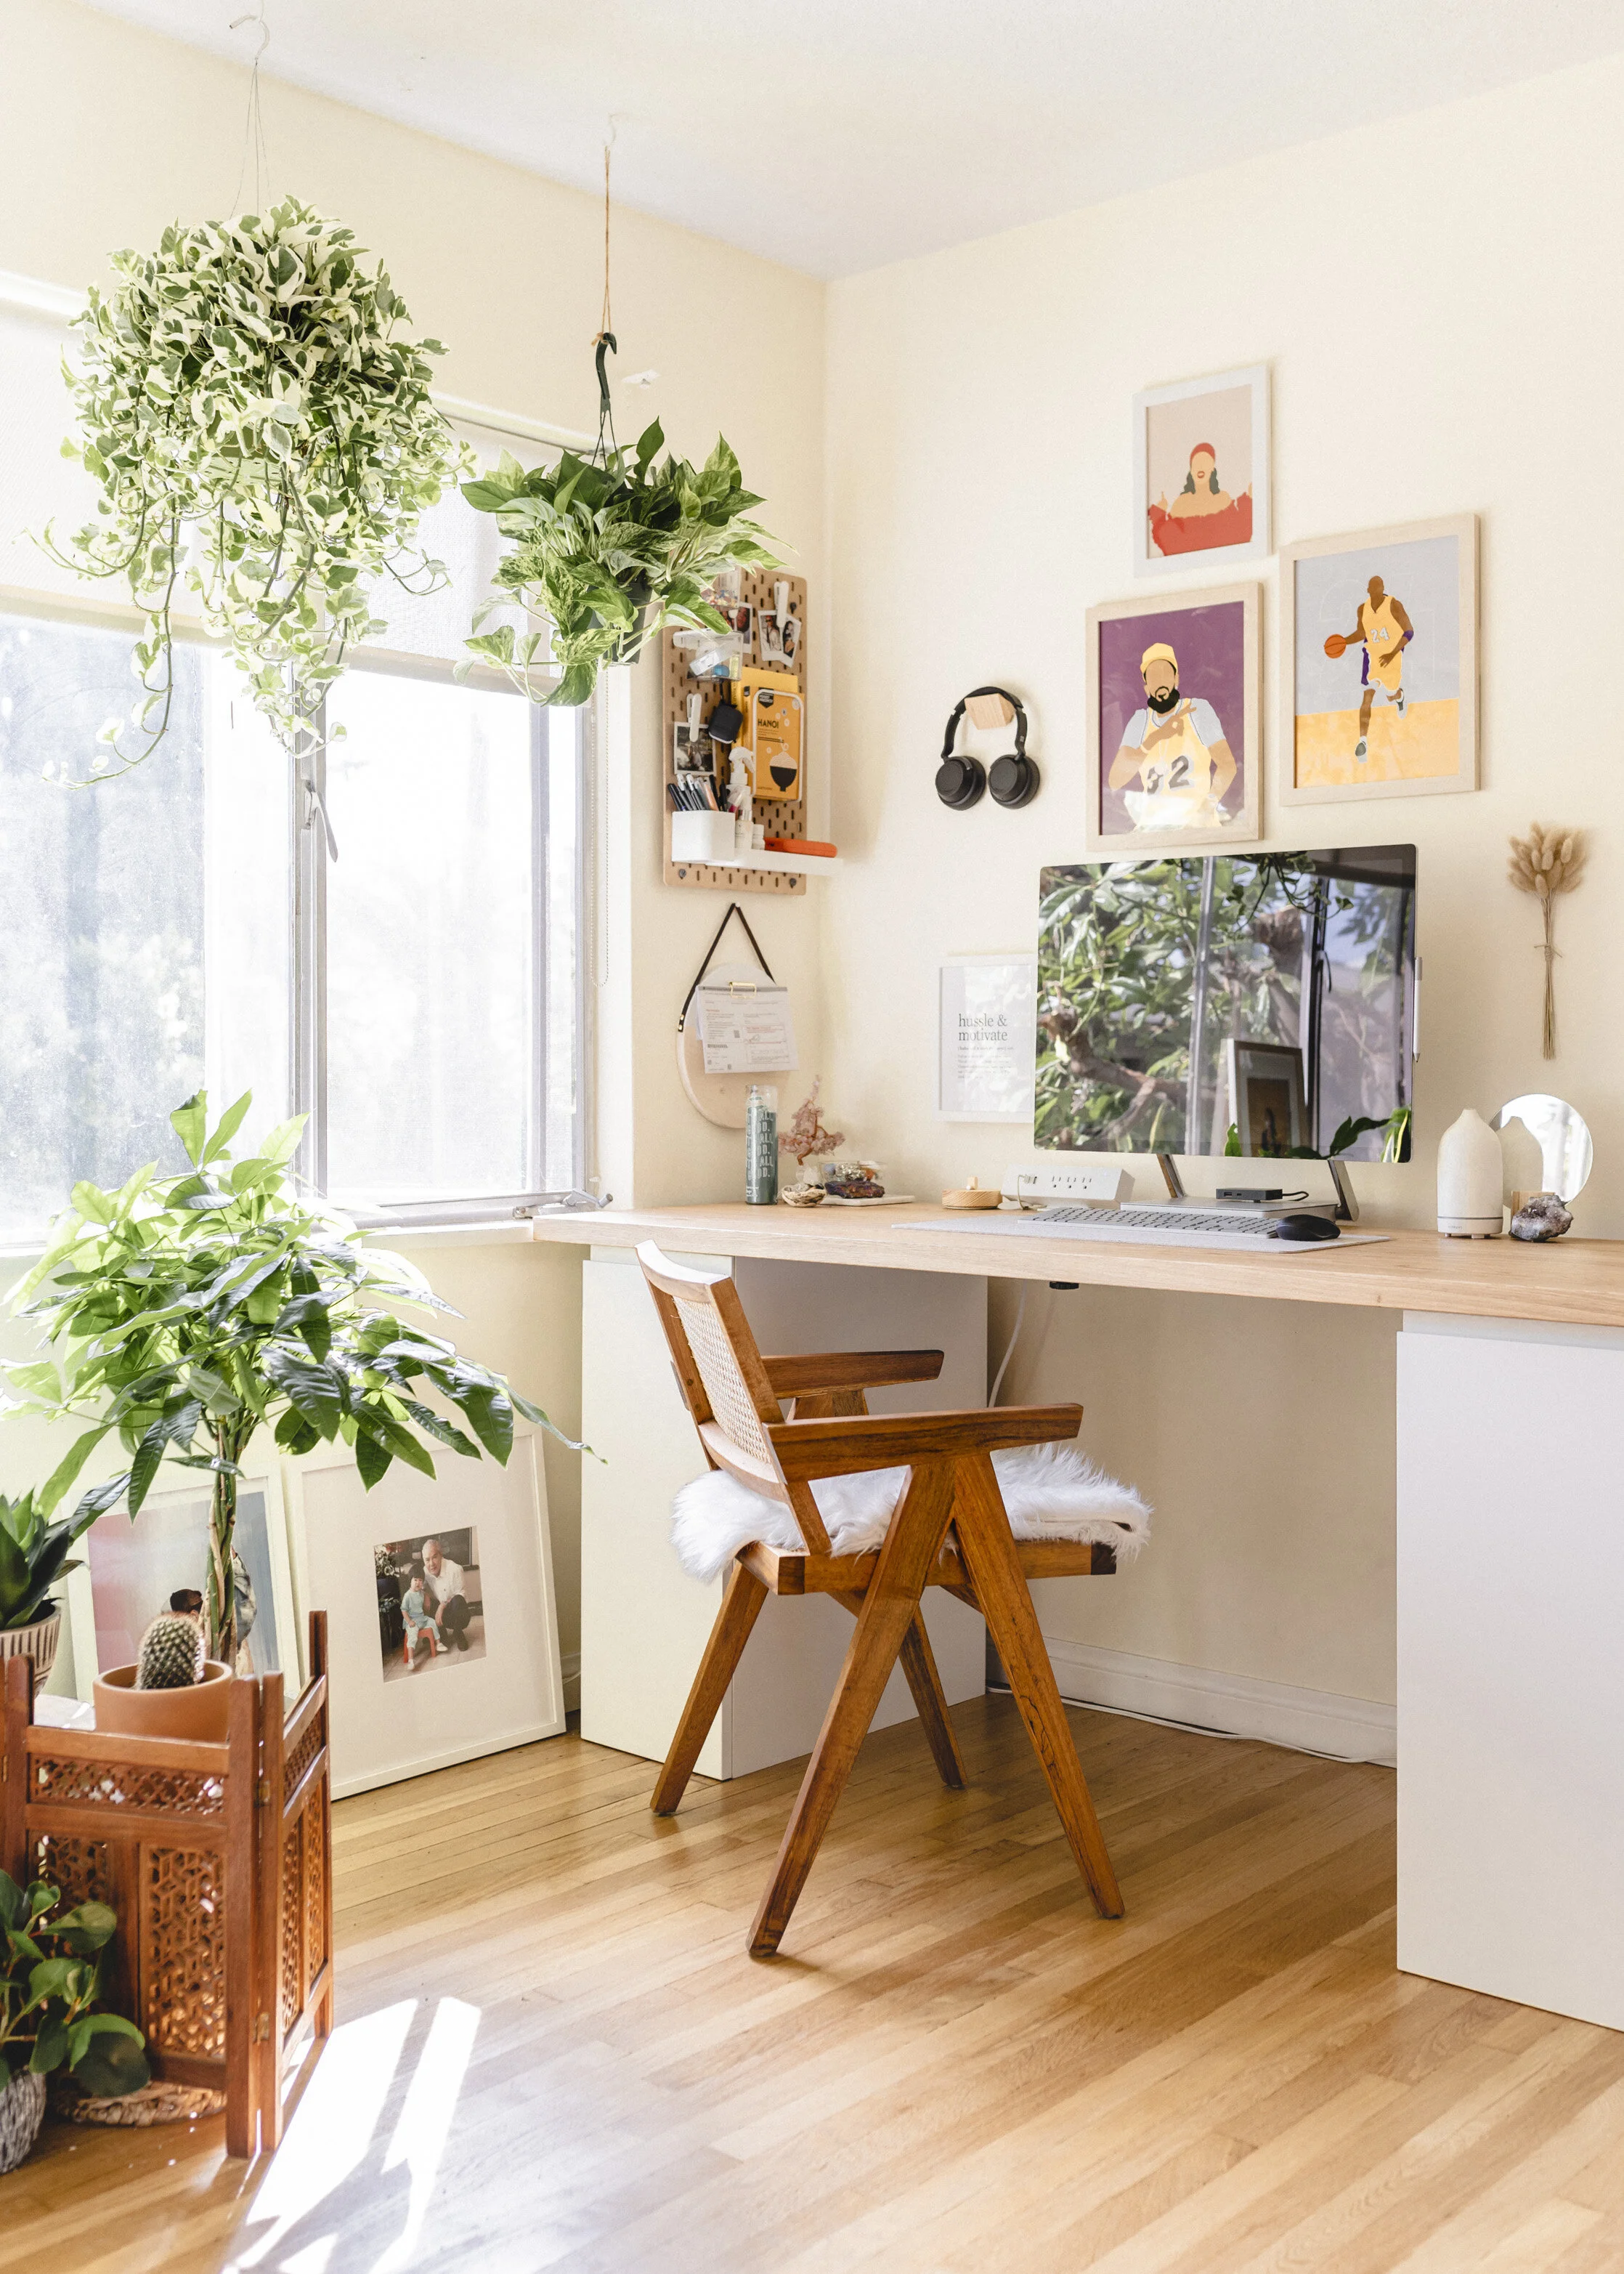
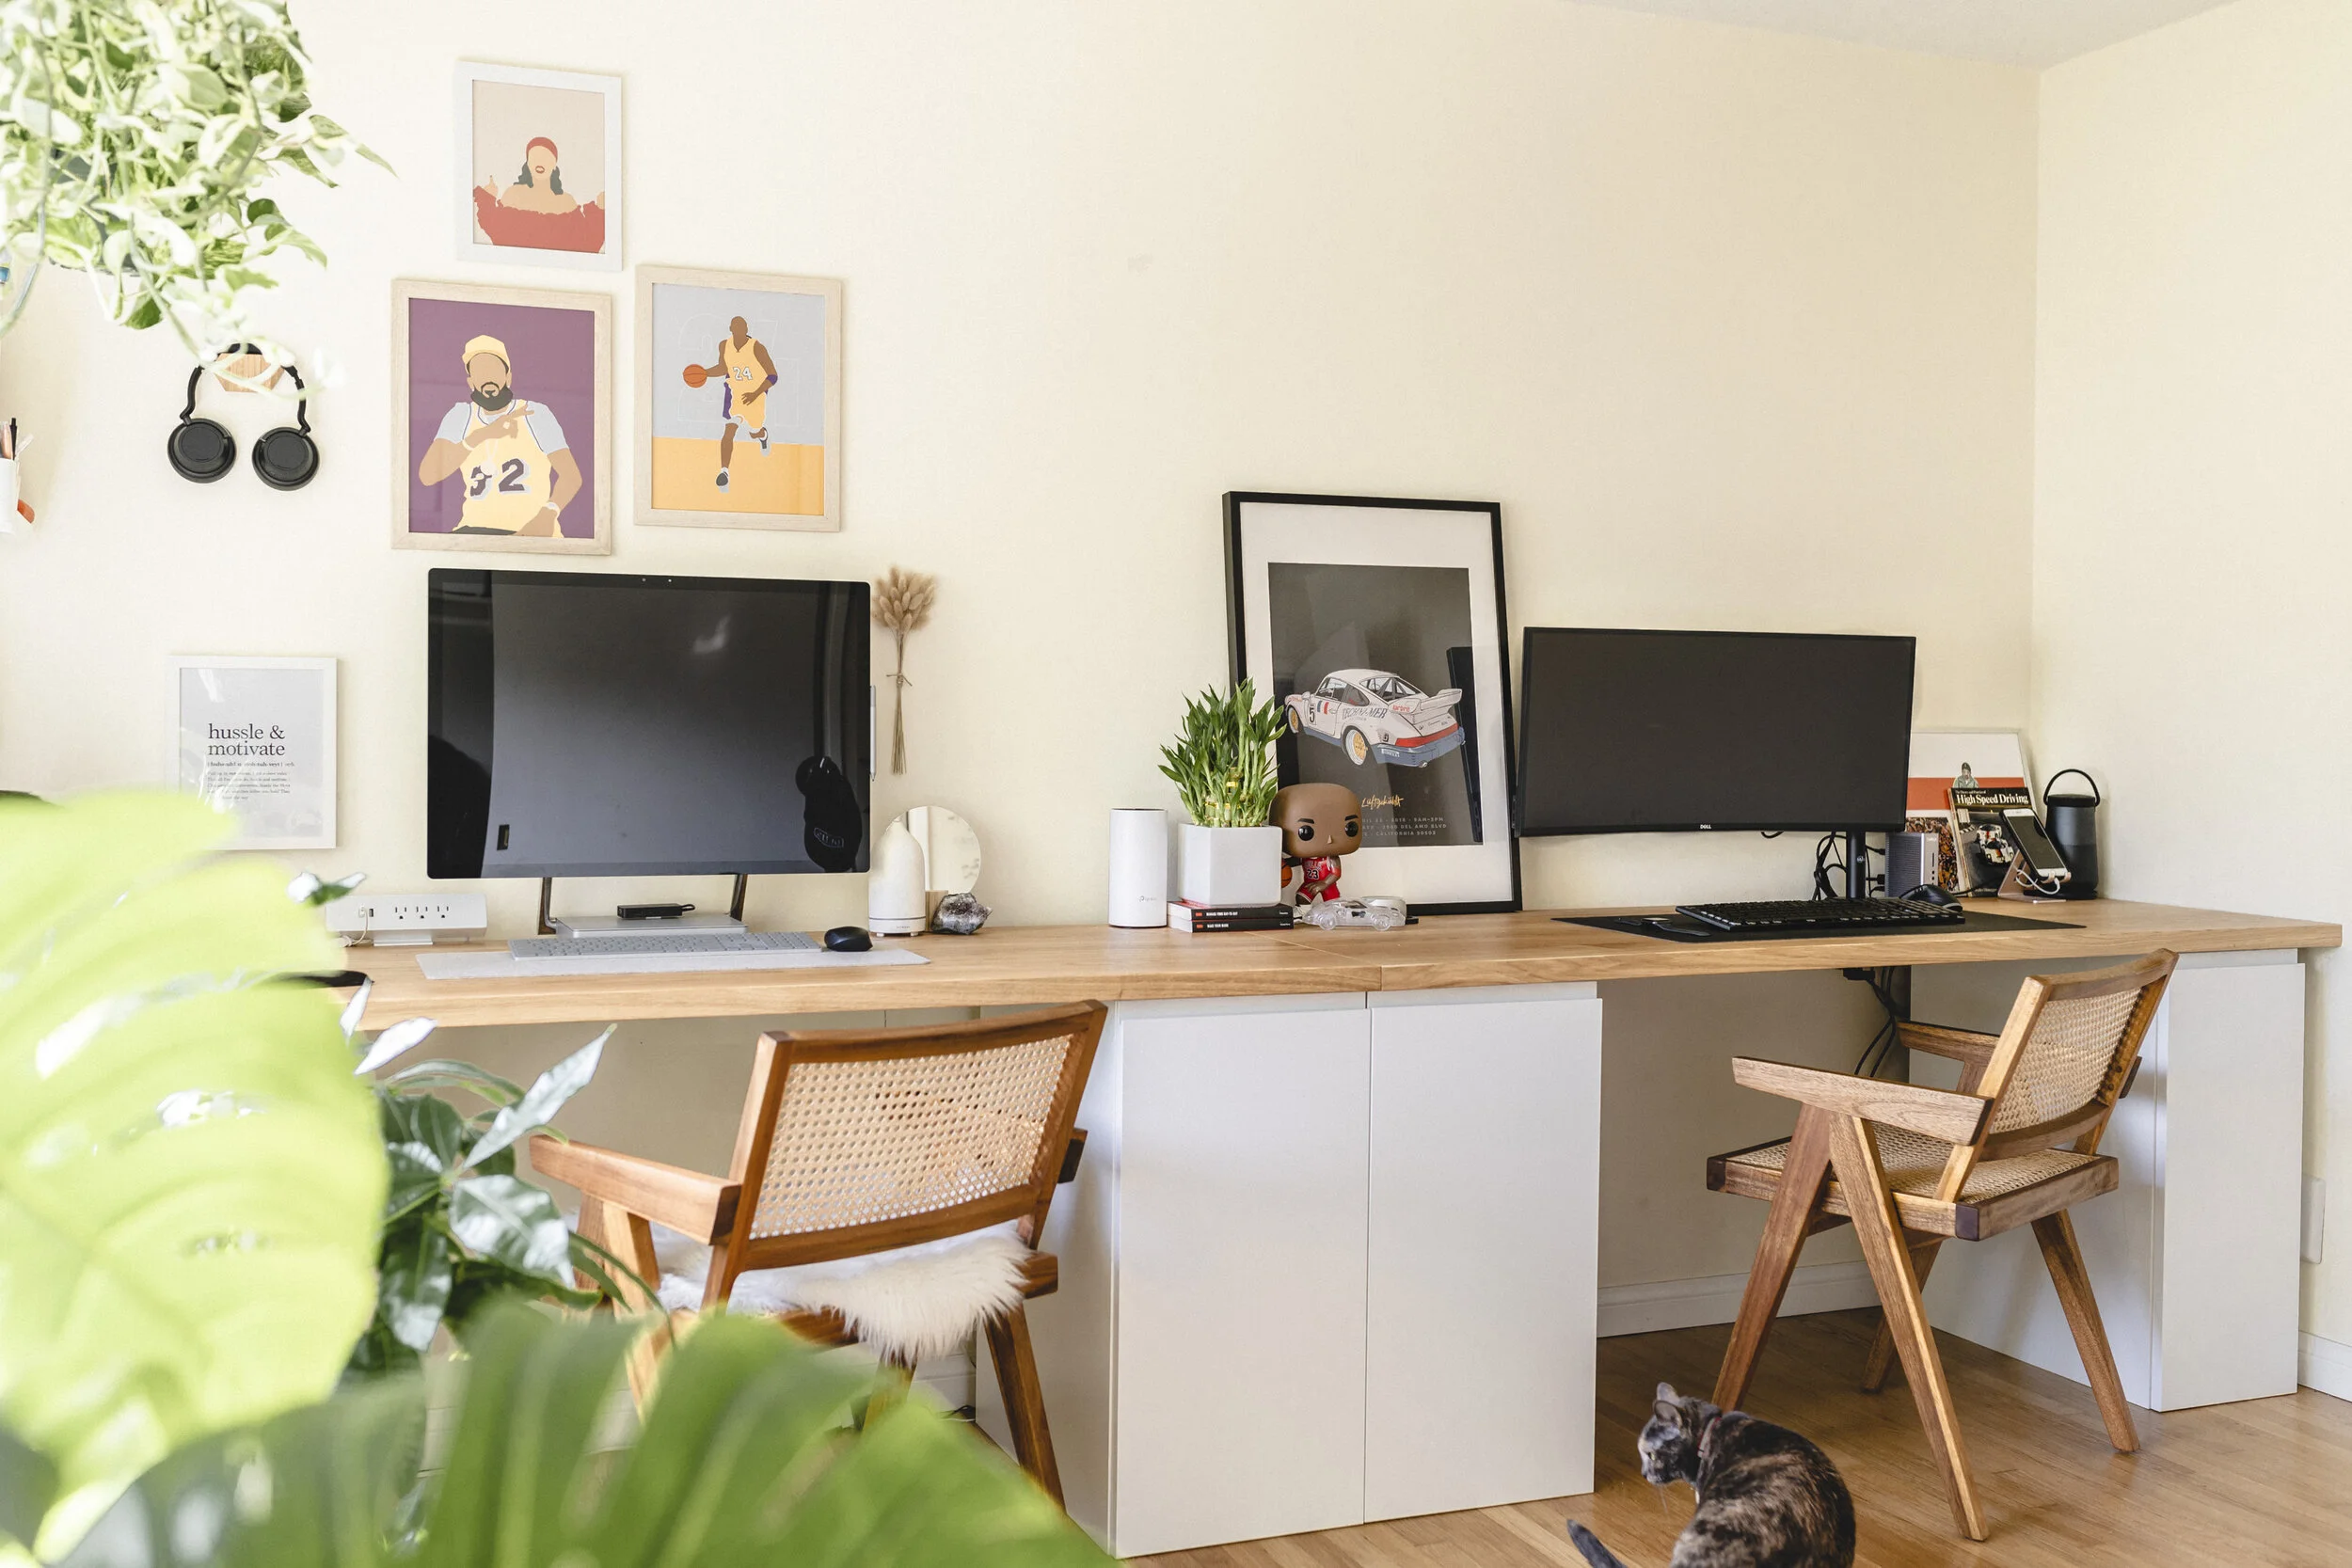
The idea for our desk came from a mixture of Pinterest pins. I kept seeing this popular DIY Ikea desk setup over & over again. The other one I saw a lot was a floating desk but since we’re renting, we decided it was better not to go this route. I combined those two ideas with a couple of others and came up with this duo desk setup.
Prior to this workspace, we both had sit-stand desks. While I enjoyed having the option to stand or sit, the desks were too bulky and I wanted a more seamless look that gave us more space.
The Mission
We all know that building Ikea furniture is never easy, but it was also a huge mission to find all these pieces. Shipping is still super slow and can be delayed for quite a while, so our best bet was to go and get the items physically. There are 4 Ikea stores in LA and OC (Burbank, Covina, Carson, Costa Mesa), and we went to all 4 in one day, and then had to go back to one the next day just to get everything we needed. Why can’t one Ikea ever have everything?
FYI: All the base cabinets are located in the bathroom area and come in a variety of door styles and colors. You can get legs and kick toes but because the countertop is an additional 1.5-2”, we opted out of these as the desk would be too high for us. The countertop can be found in the kitchen section. We chose a kitchen countertop (vs. desk tabletop) because I wanted to be sure that the top could withstand the weight of both our desktops. Note: countertops come precut and since it was about 2” too long for our walls, we had to go to the local lumberyard to get it cut.
The Build
It took a total of 3 days to build, as we couldn’t dedicate more than a few hours each day to it.
Day 1: built all 3 cabinets but did not put any of the doors on
Day 2: went to 2 different lumberyards to get our countertops cut
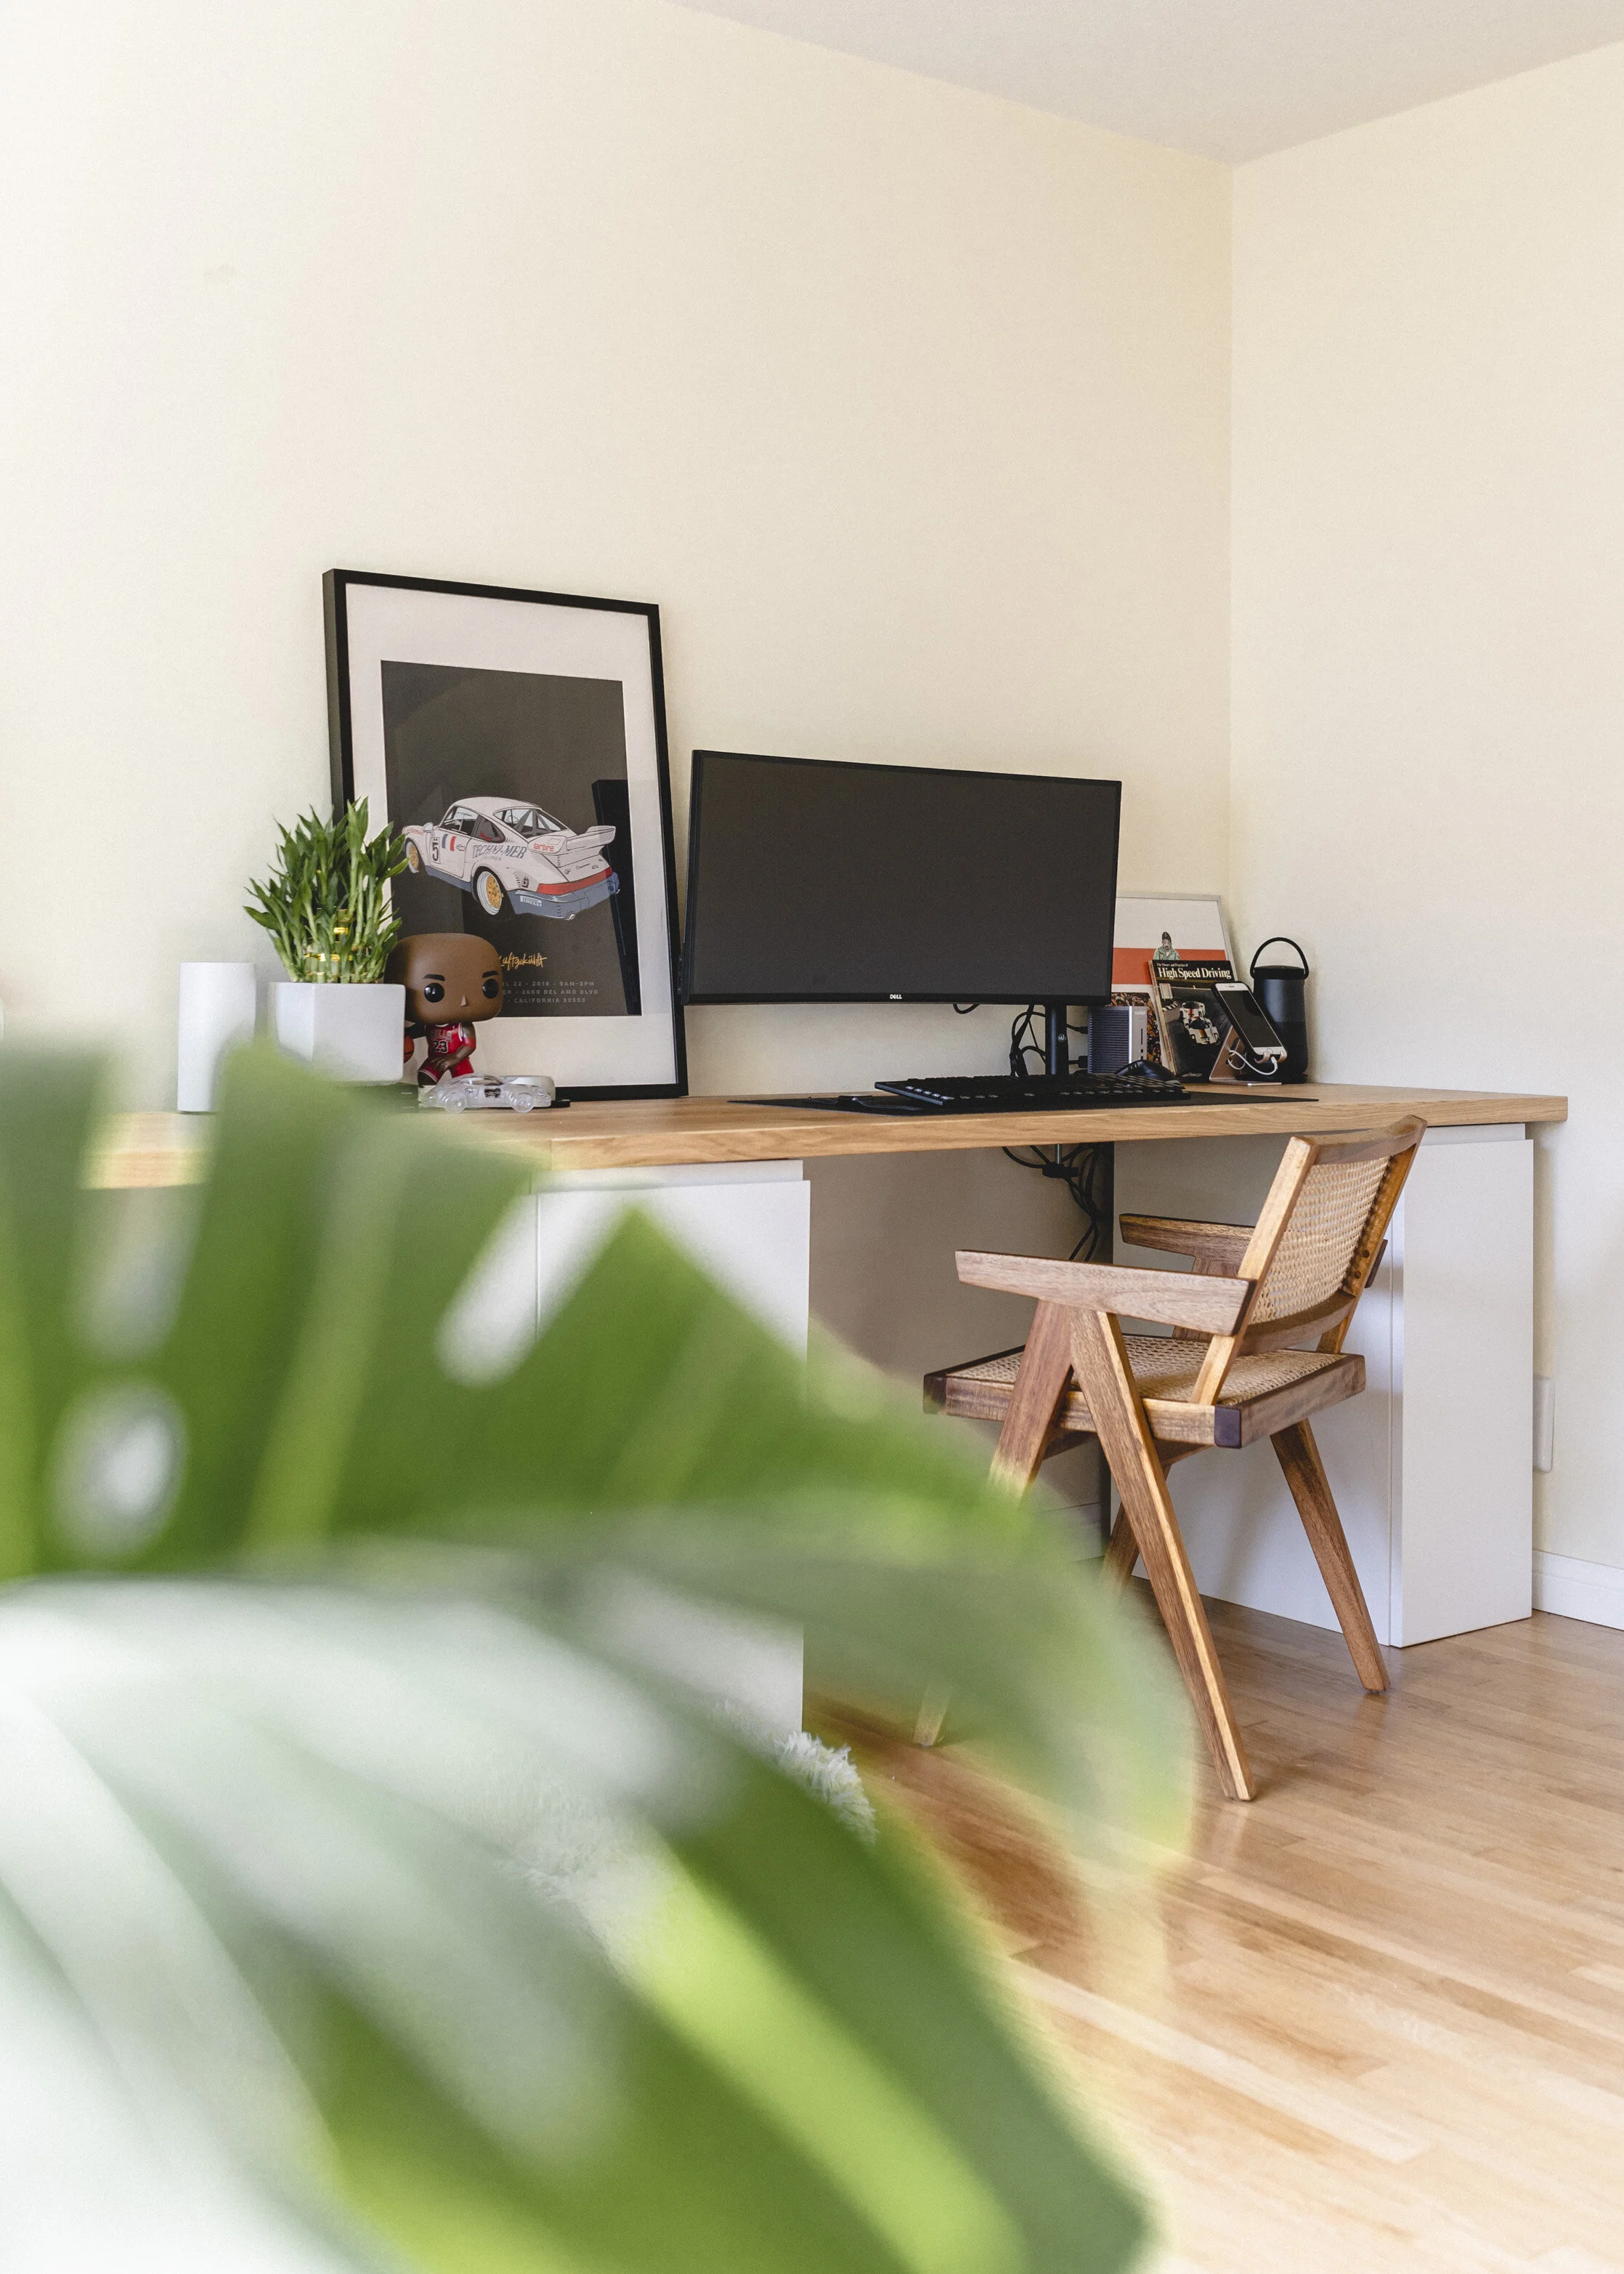
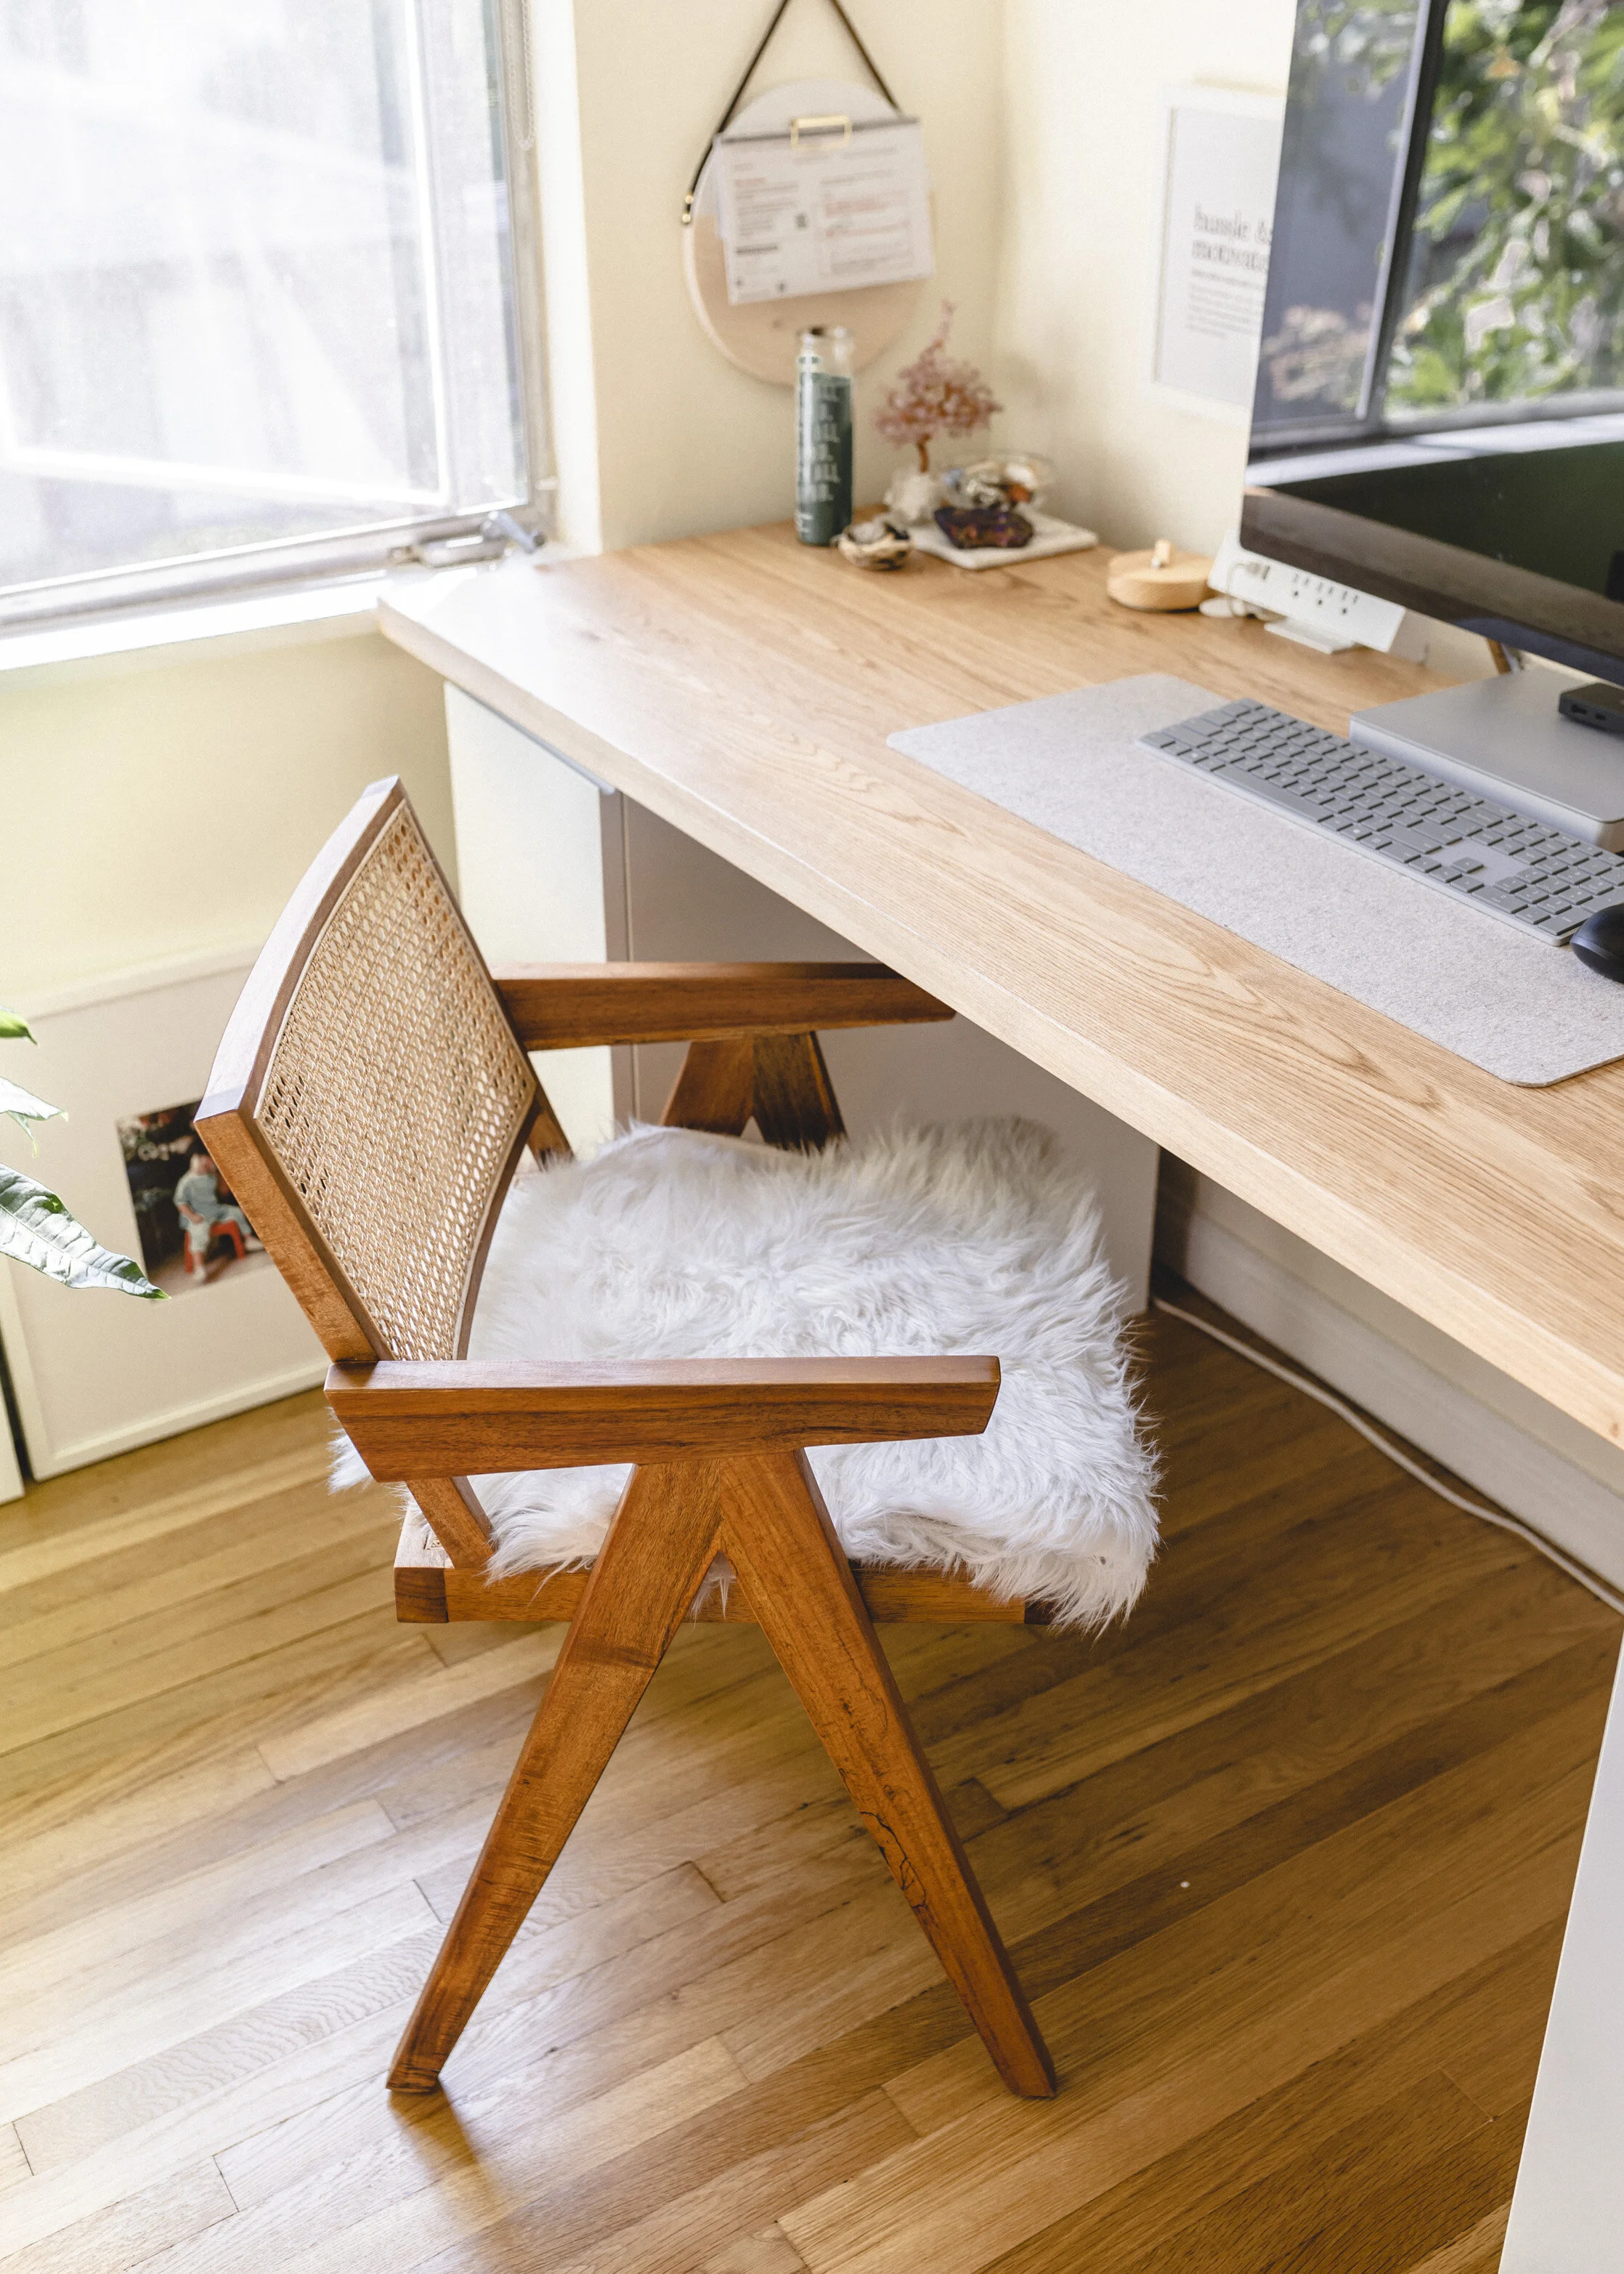
Day 3: laid out the design in the home office, measured three times, and situated everything in place before we started securing it all down.
We used L brackets for the middle cabinets since that’s where the two countertops meet and we needed more stability there. We opted to not attach the side cabinets to the walls as we feel that it’s secure enough and won’t move. This was also ironically tested during the last earthquake we had. The desk did not move at all, hah. After we secured the countertop, we then went ahead with the doors and had to readjust a couple of times as we noticed that our floor is actually a little uneven in certain places.
It’s been over a month since we’ve built this and we are still in love with this setup. The countertop is holding up very well and I absolutely love that these shelves (inside the cabinets) are adjustable. You can customize the height of all these shelves to your own needs/liking with ease.
Now that we have our desk done, we can focus on the rest of our office space and the full reveal of that will be coming soon so stay tuned!